Part 113: Chapter CII - Ooh, big ouchies for you!


Ooh, big ouchies for you!
Previously:

Chapter LXXX: I am finally free
 Reward:
- 250,000 G

- Obtained Alabaster Orb! Rush can now use
 Wards!
- Obtained Stone of the Imperator!
 - Dungeon Video: Ancient Ruins – Apex Tier
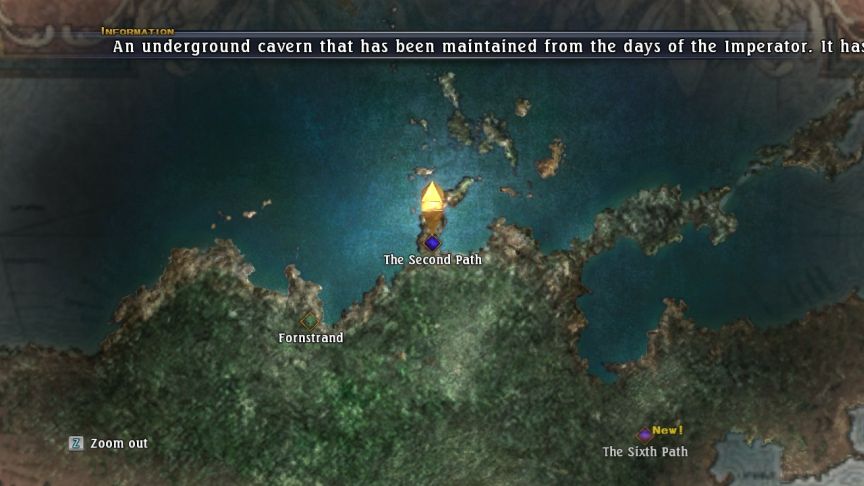
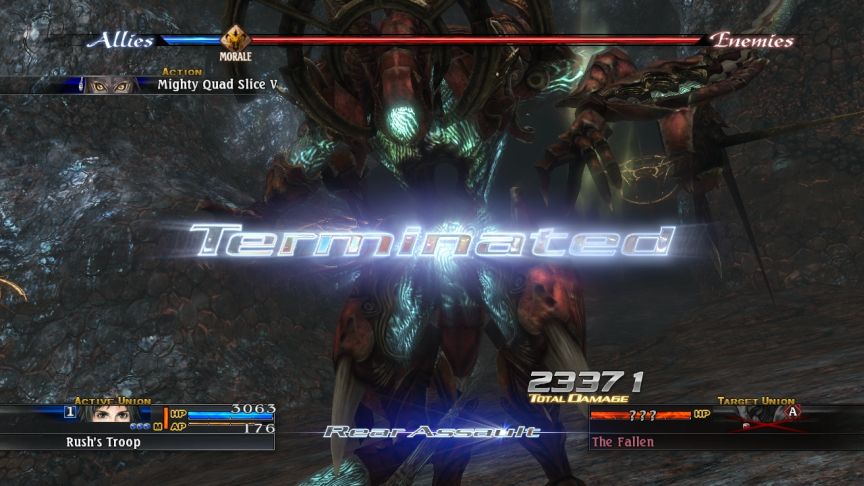
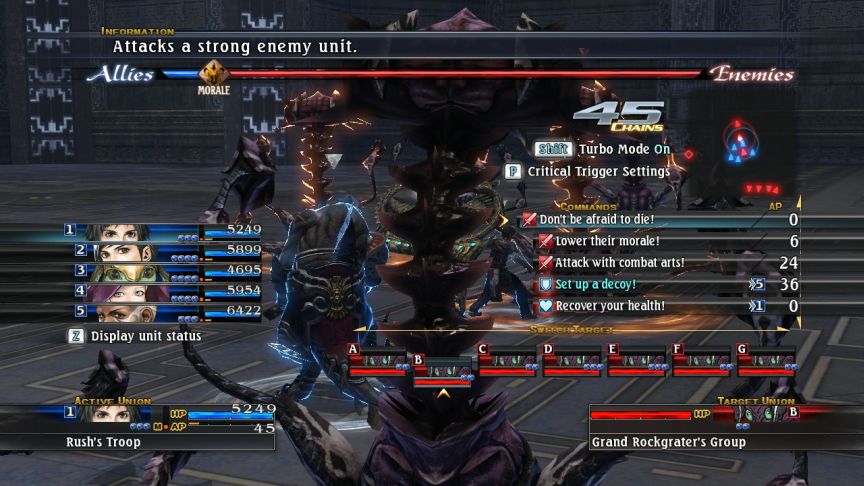
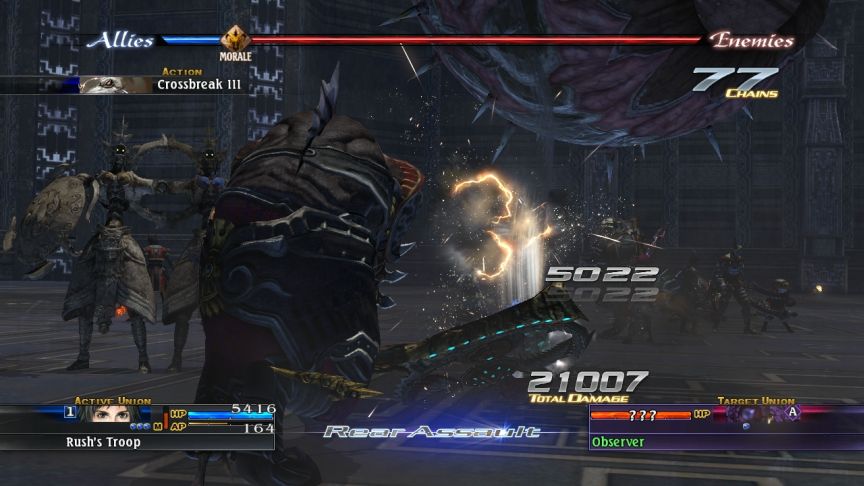
 So after beating the Fallen, we obtained the Stone of the Imperator. Now I’ll show you what that’s for. We need to go to the Second Path first.
 I’m including dungeon videos for the bonus dungeon, with all duplicate fights against the same enemies cut out. But even though I split it into five videos, there’s over an hour of footage, so only watch what you feel like. The Observer fight is probably the highlight.
Music: Labyrinth

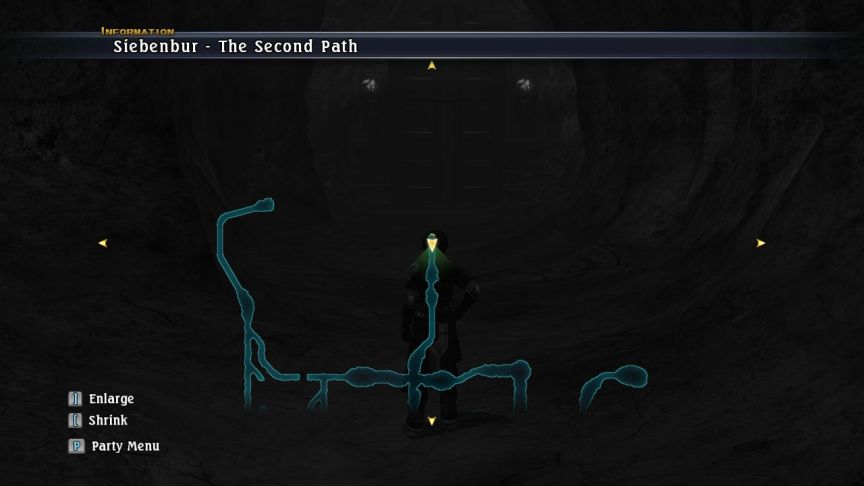 We’ve got to go to the top left, which is a straight line shot.
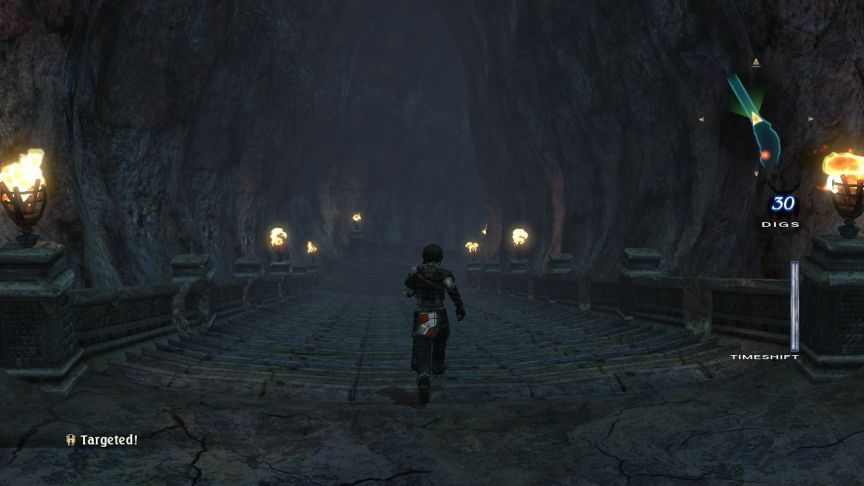
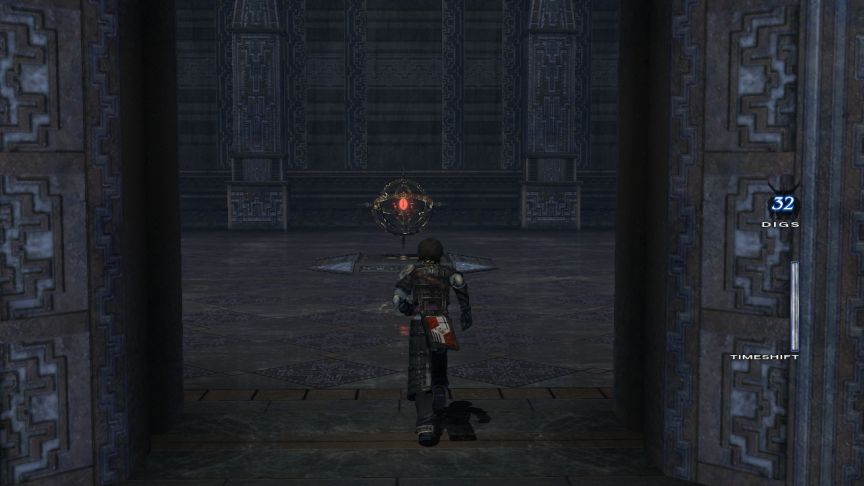
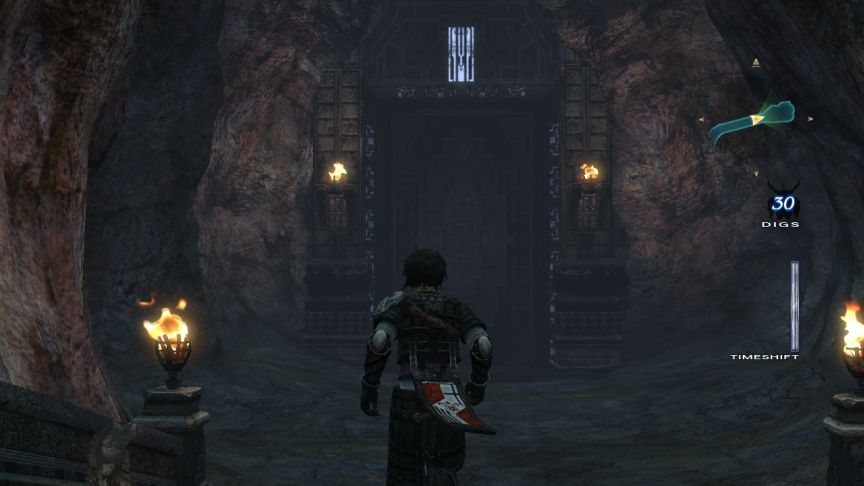 This imposing door is at the bottom.
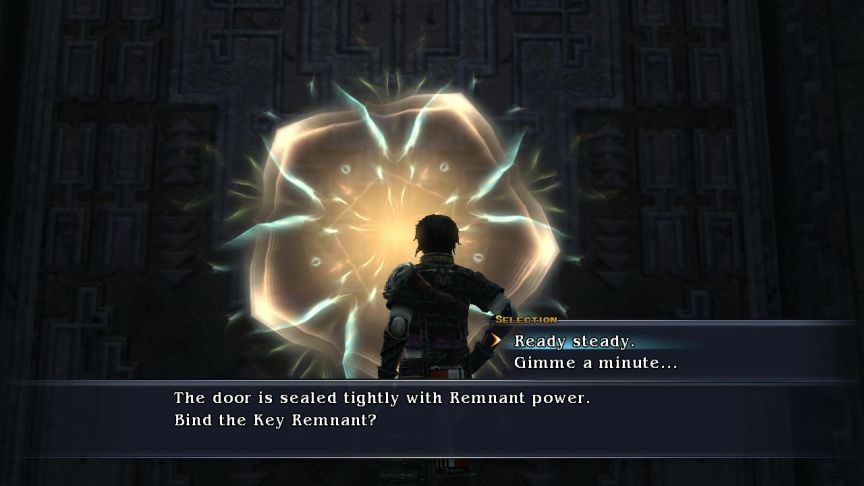 The Stone of the Imperator, which we get from beating The Fallen (on the PC version) is what is required to open it up.
Music: Whispers of the Ancients
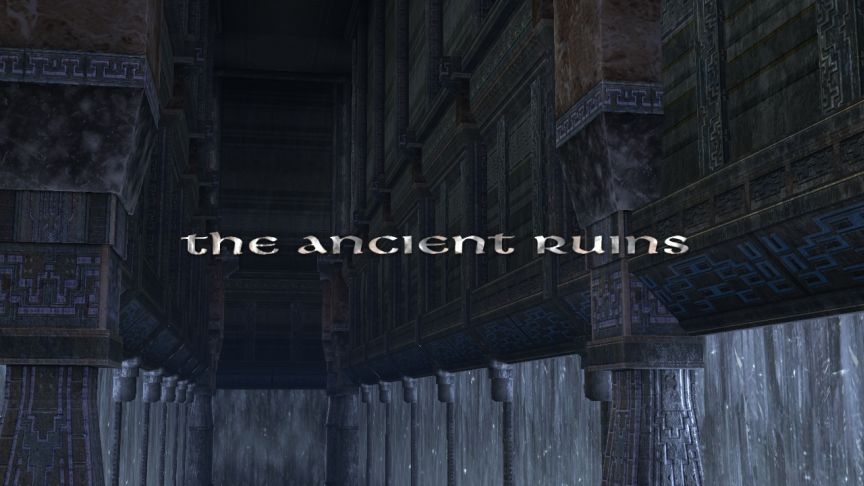
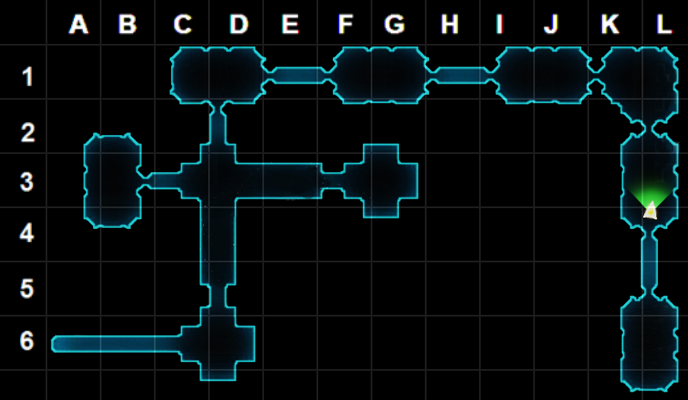
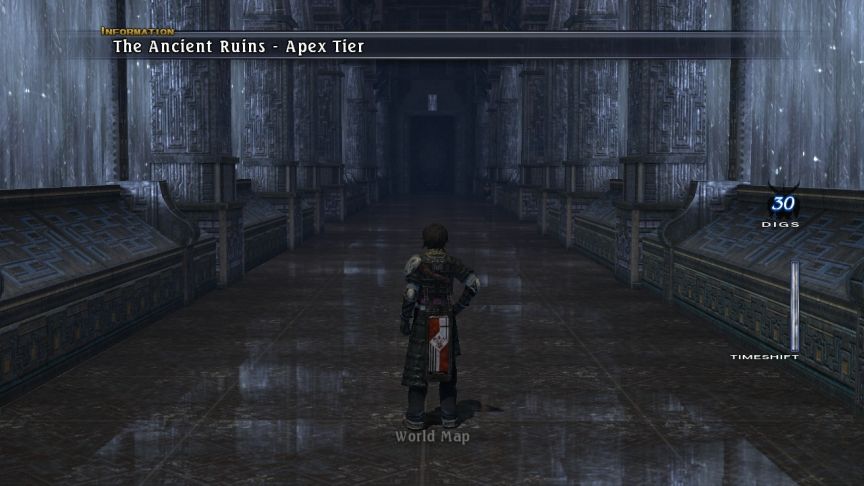 Welcome to the Ancient Ruins, the bonus dungeon for Last Remnant. The gimmick for this dungeon is that there is no map. Not even a minimap. It looks more interesting than your standard caves, but it retains the lack of useful landmarks. Luckily I have a good sense of direction. And a wiki.
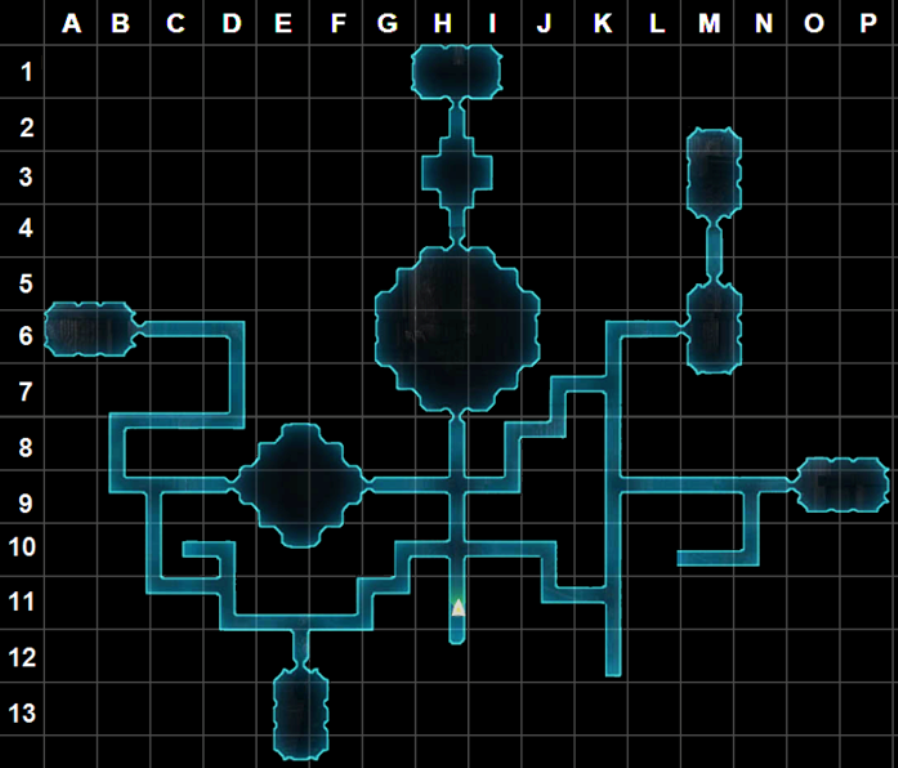 This is the first and shortest tier. The boss room is straight ahead, the key to unlock the next level is in the northwest room. The exit doesn’t lead back to the Second Path, it just takes you right to the world map.
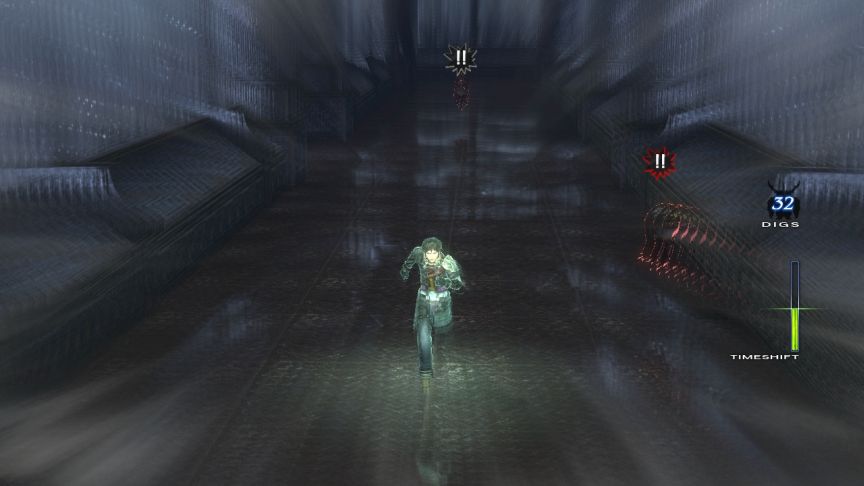 There are only Amoeba-type enemies on this floor’s hallways. They’re more of a warm-up than anything. Khrynia needs a drop from them for an upgrade.
Music: Beat the Odds
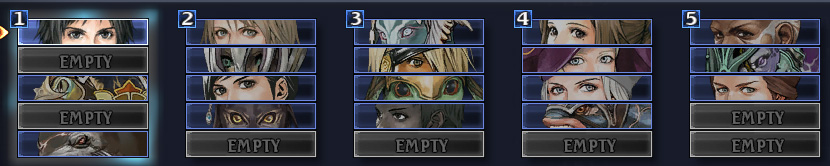
 I’ve put Khrynia, Pagus, and Glenys in charge of their unions to shake things up a little. I’m sorta-trying to get Pagus’s Remnant art to trigger, but it has the same conditions as the Gae Bolg, which are pretty restrictive.
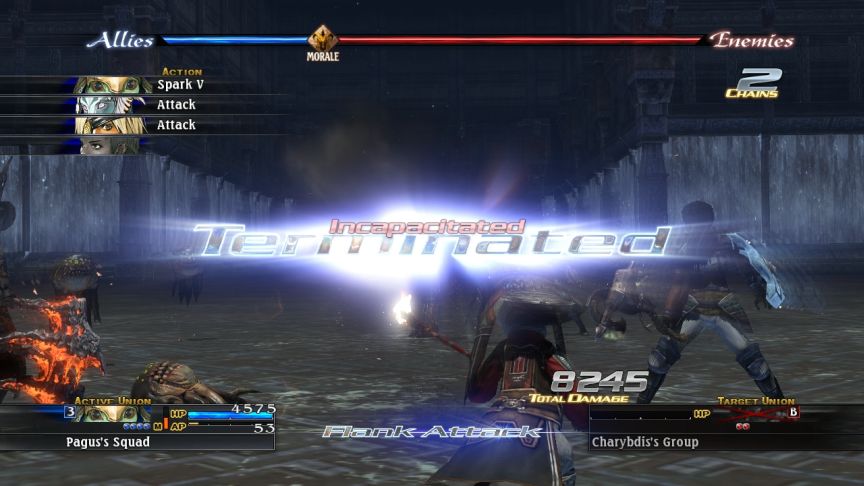

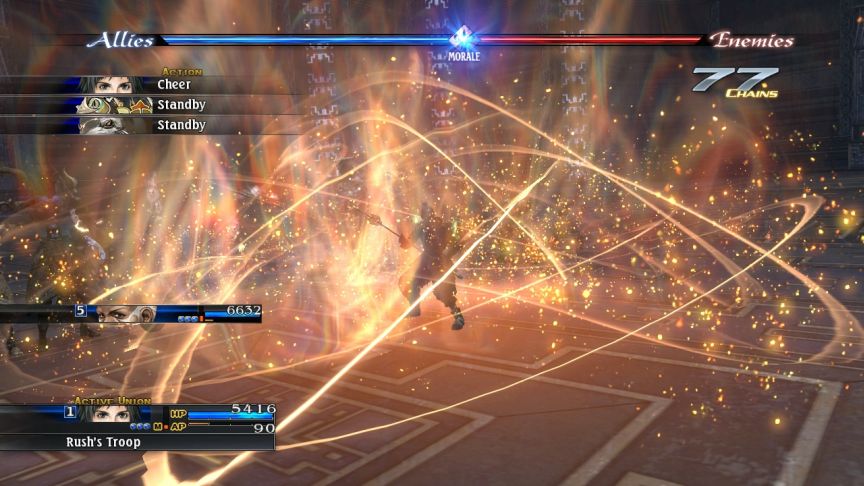
 Cheer is a high-level Ward which as you can expect boosts your morale.
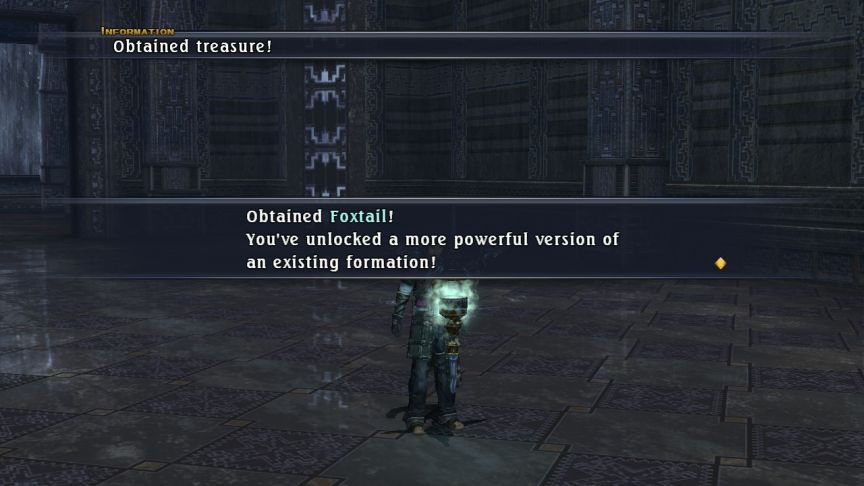 Formations are perhaps the worst of all treasures. Especially on a NG+ where they’ve been carried over.
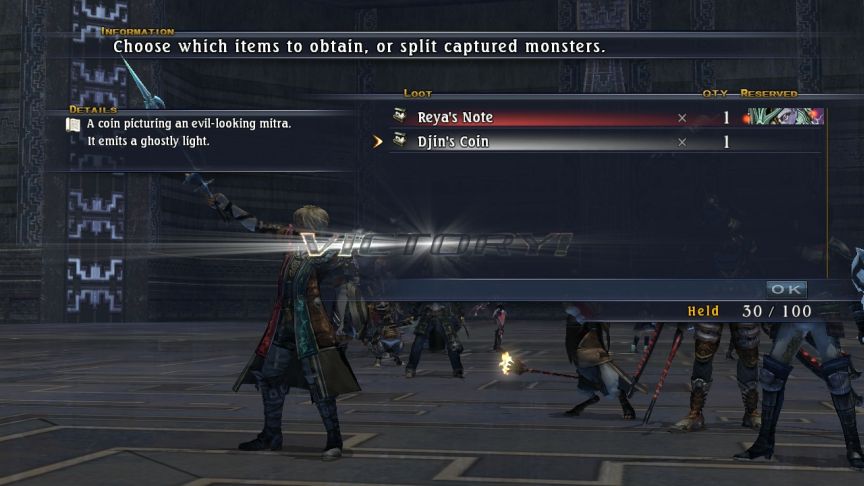
 Obtained Grammi Key! I still need to defeat the boss of the floor before I can go to the next, though.
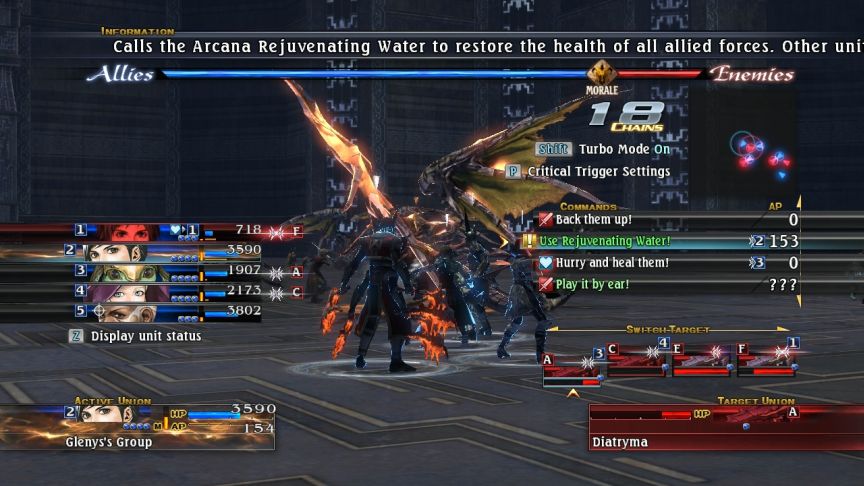
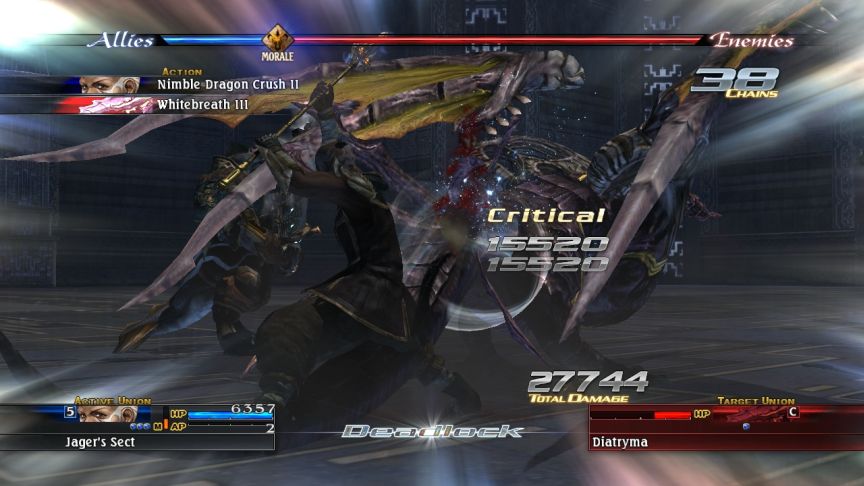
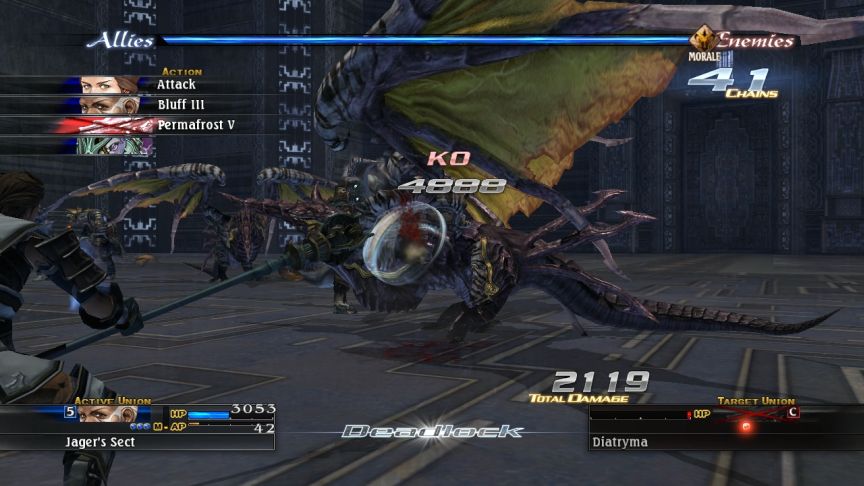
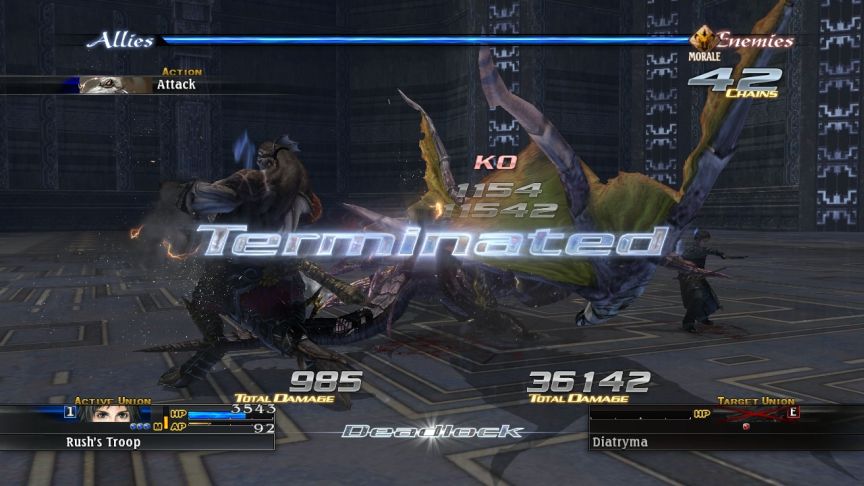
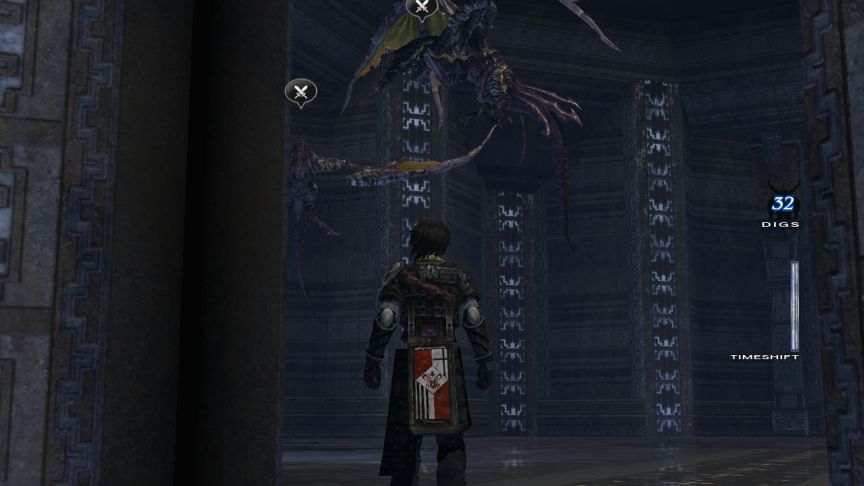 A couple of Diatrama’s, wyvern-type enemies.
Music: Beat the Odds
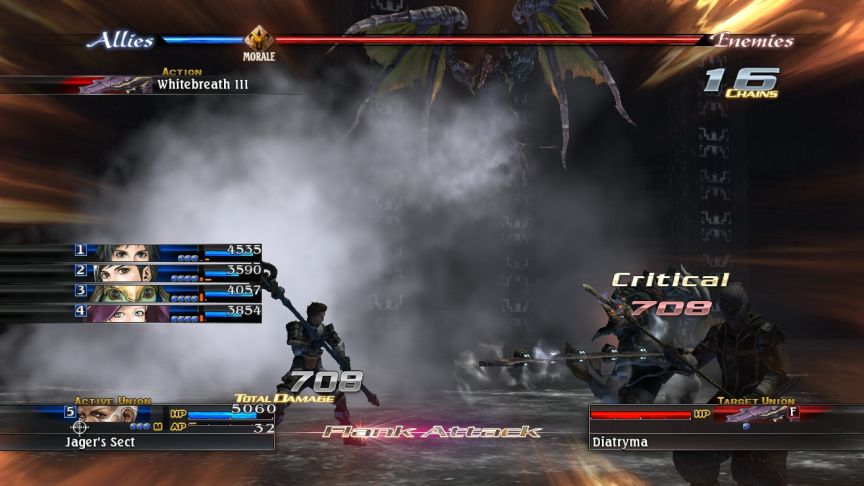 I think Decoy must also give a defense boost as well, since that was a critical and it only did 708 damage.
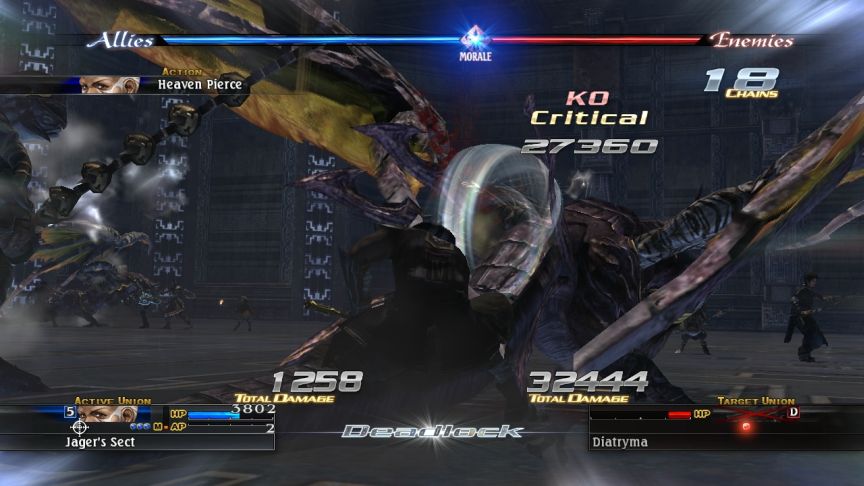
 I could use the boost.
 And that does it.
 Whoops! Hi there!
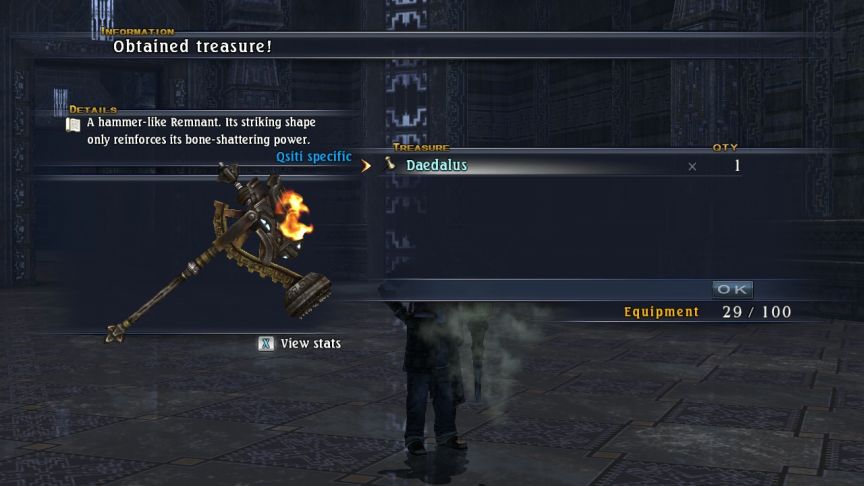 There is some good treasure in the Ancient Ruins as well, too, although this Remnant, the Daedelus is Qsiti-specific. Specifically, Sibal requests it.
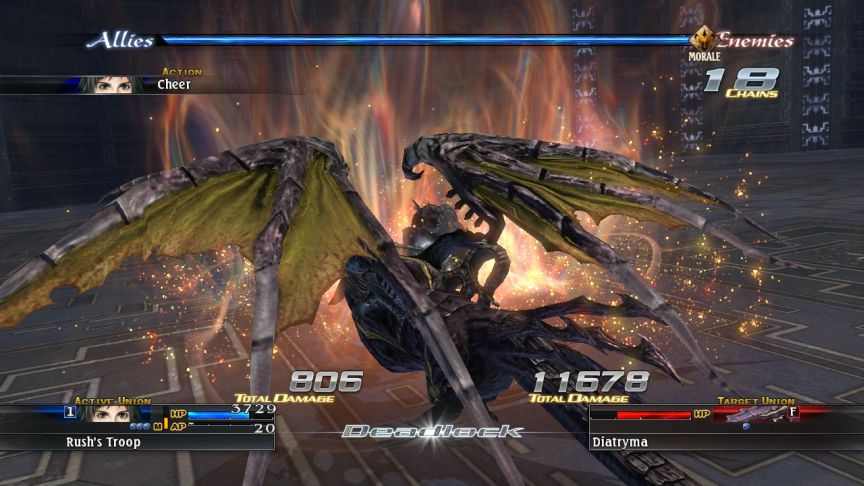
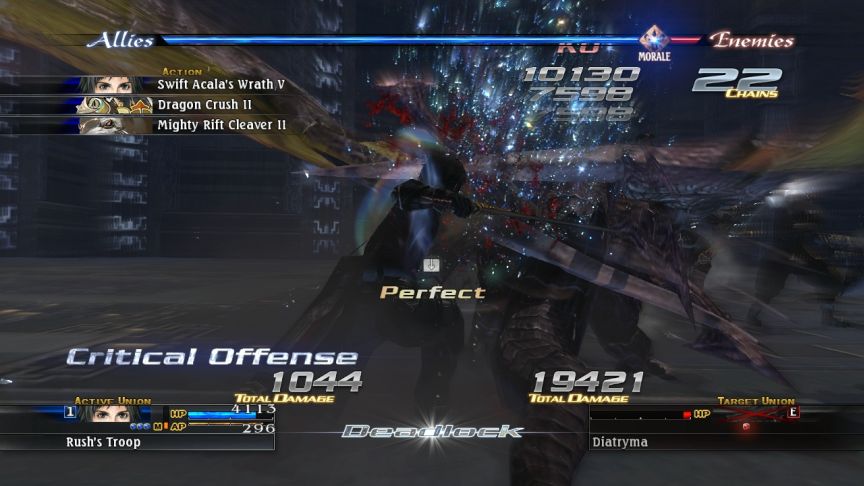
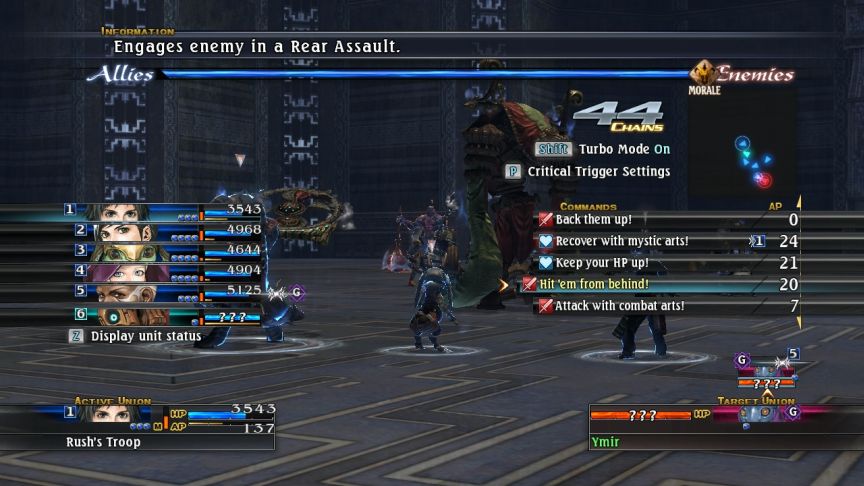
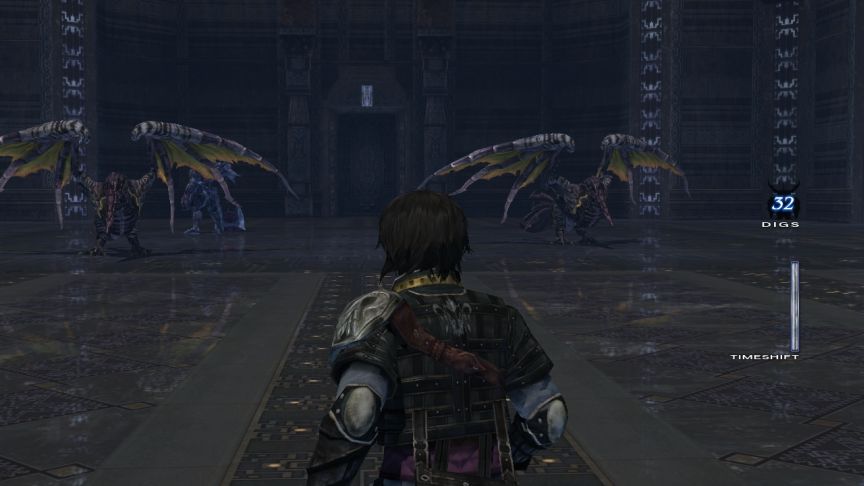 This is the boss room. The boss is Ymir, a colossus-type enemy. Dragging the Diatrymas into the fight is optional, but what the hell. - MiniBoss Video: Ymir
Music: Beat the Odds
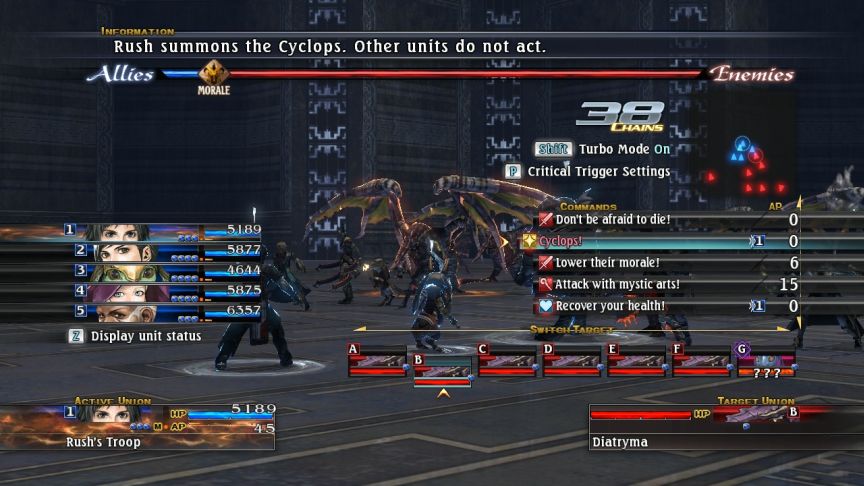 The Cyclops will certainly help.
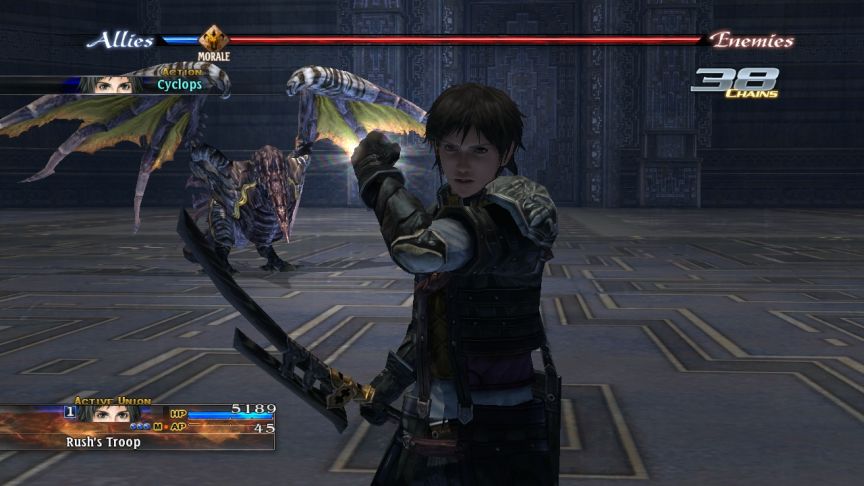
 Jager almost one-shots one of them. But not quite.
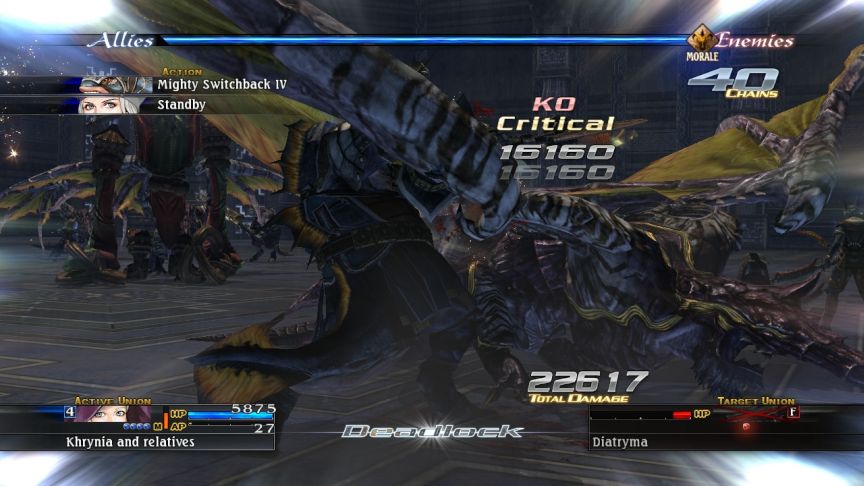
Music: Turn the Tide

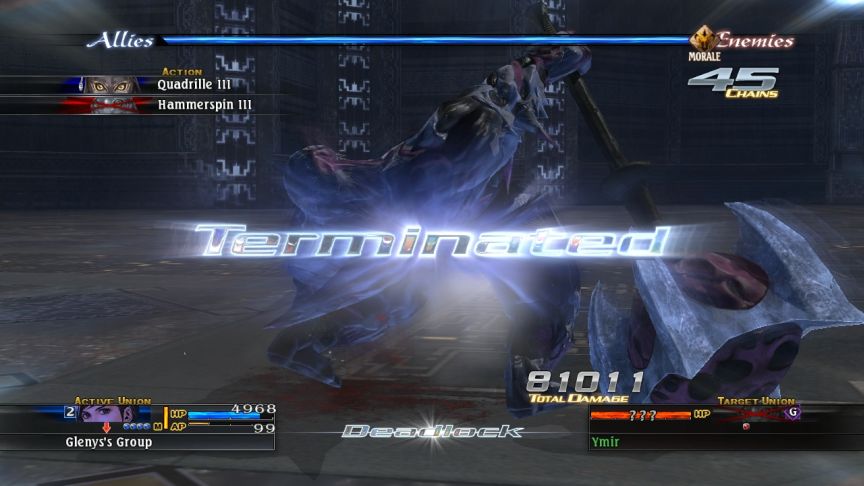 And done on 5 turns. Ymir is always captured, and you can use him to create an Imperator’s Bangle at a workshop… for more gold than it costs to buy one, and it uses 20 Blueprint 4’s which are only dropped by rare monsters which generally only appear once. So I don’t know what the point is.
Music: Whispers of the Ancients
 The Grammi key has unlocked the teleporter. Use the Teleporter?
 You can also use these to quickly get back to the world map if you choose. But we’re moving on to Grammi Tier. - Dungeon Video: Ancient Ruins: Grammi Tier - Anatoray
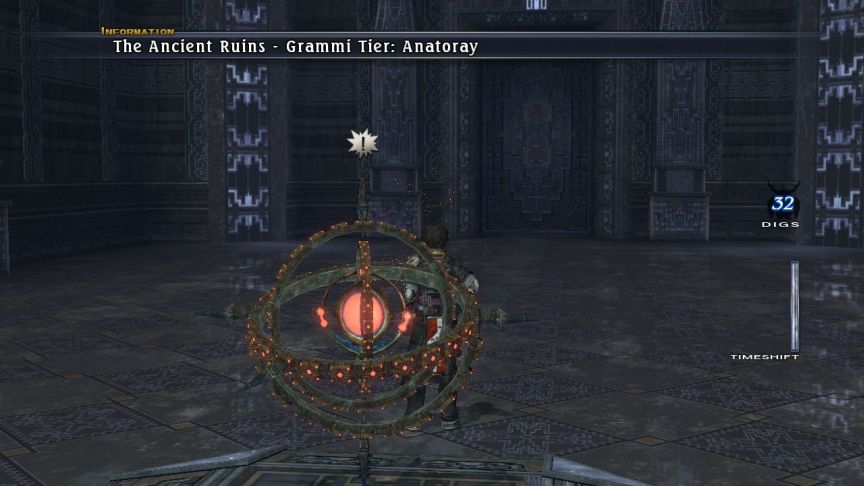
 Grammi Tier is divided into two sections. The first is Antoray, and it is a straight path with little diversion.
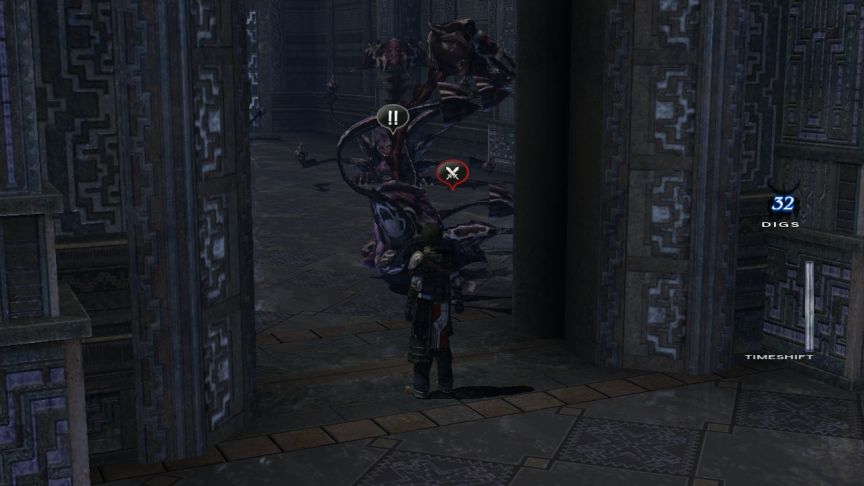
Music: Turn the Tide
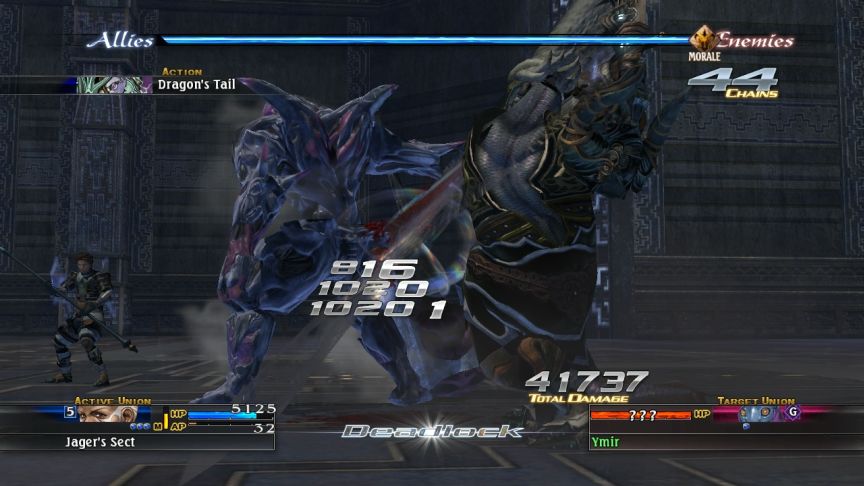
 Mighty Dragon’s Tail!
- Mighty Dragon’s Tail II!
 That was fun, but it’s time to get boring and restore my regular configuration, because some of the encounters farther in are significantly tougher.
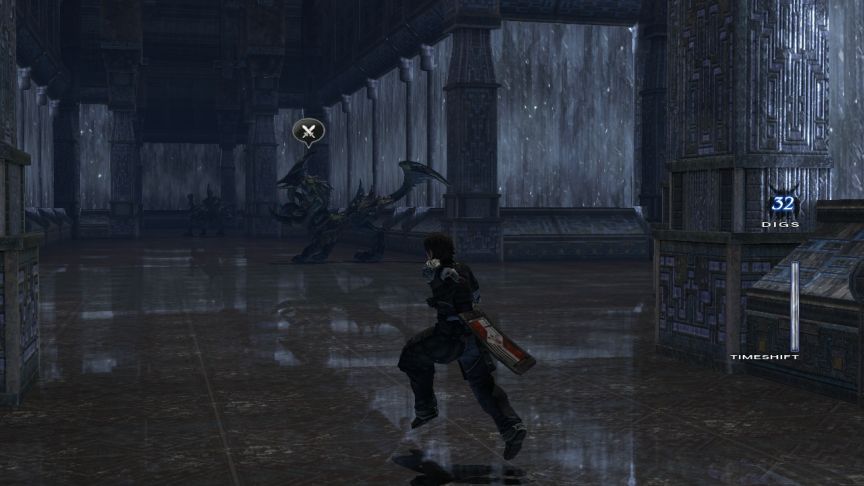 These are Greater Demons, and I’ve found that I can only safely engage one at a time, not linking together a few.
Music: Beat the Odds
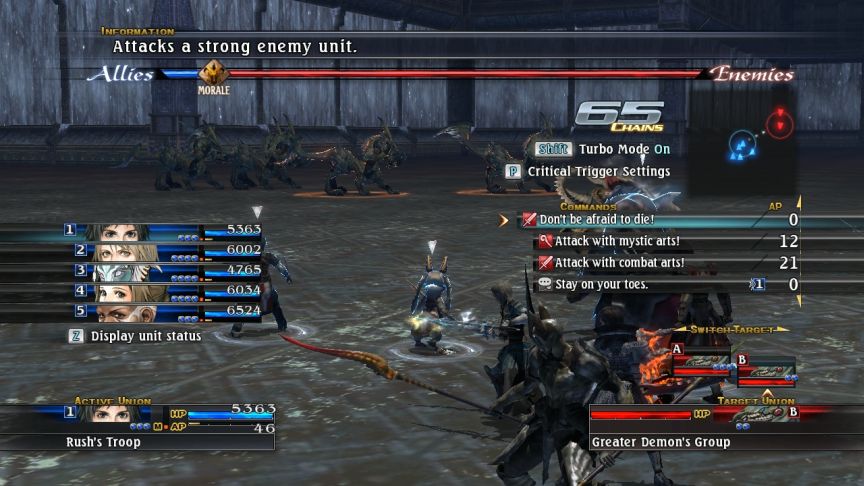 It’s just that the combination of high HP and high damage means fighting 5-6 or more of them at once can wear you out quickly.
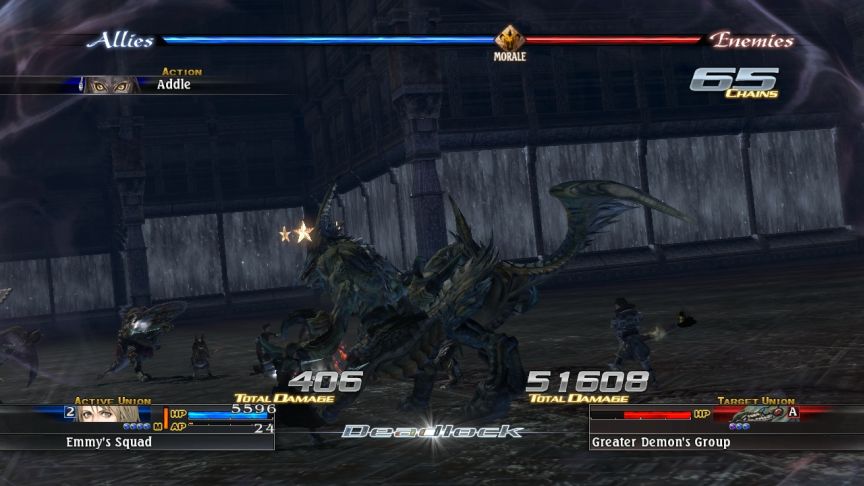 Each union has about 150,000 HP each.
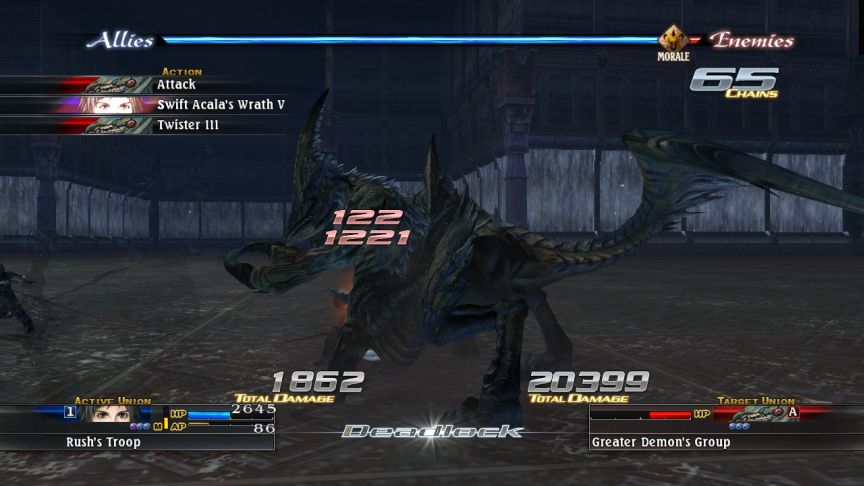 And even their normal attacks can do decent damage. So when you have 5 of these unions at once flank attacking and using special attacks like Switch and Twister, they can quickly overwhelm you. Still, I’ll hunt a few down because they drop components Emmy wants. The video skips the first Demon fight because the second one is more interesting.
 Yay.
Yay.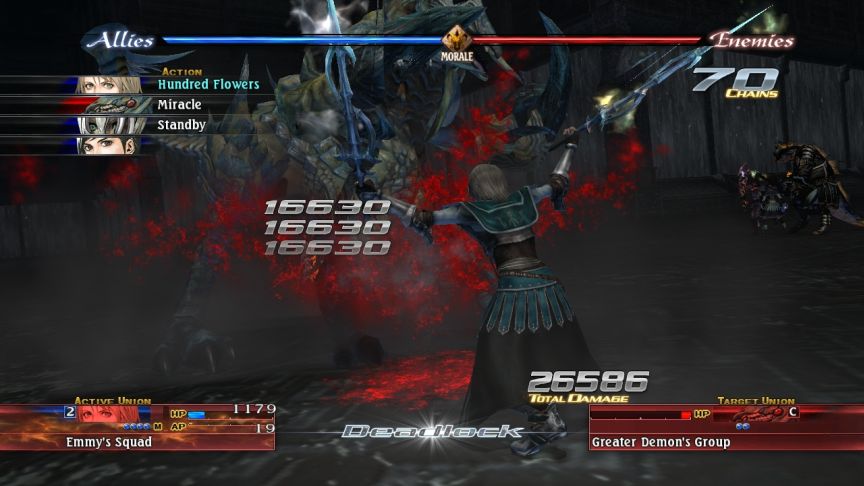
 - Video: Rare Monster Observer (Fight 1)
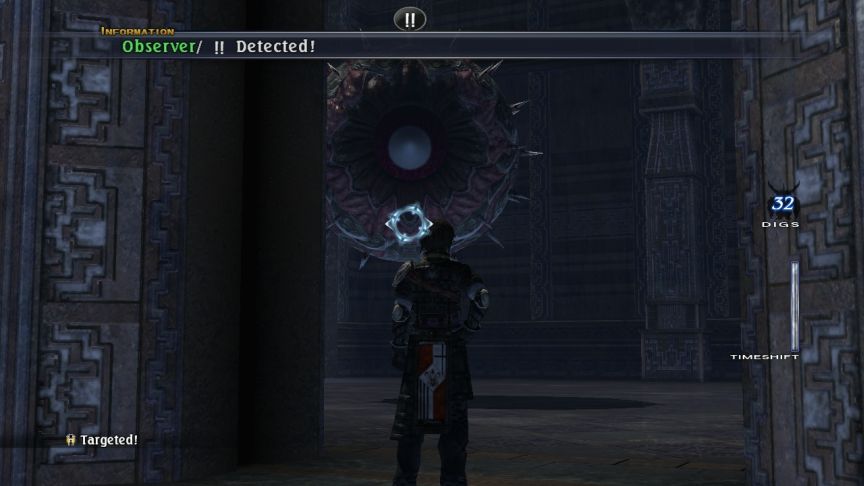 There are certain rare monsters which can appear in the Ancient Ruins as well. They can appear multiple times. Linking them together is not recommended for newcomers. I cut this fight out of the Antoray tour video into a separate video.
Music: Beat the Odds
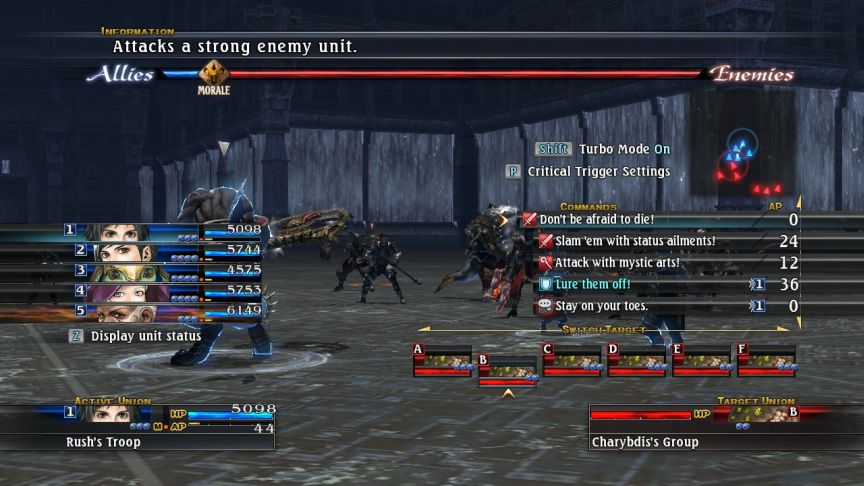
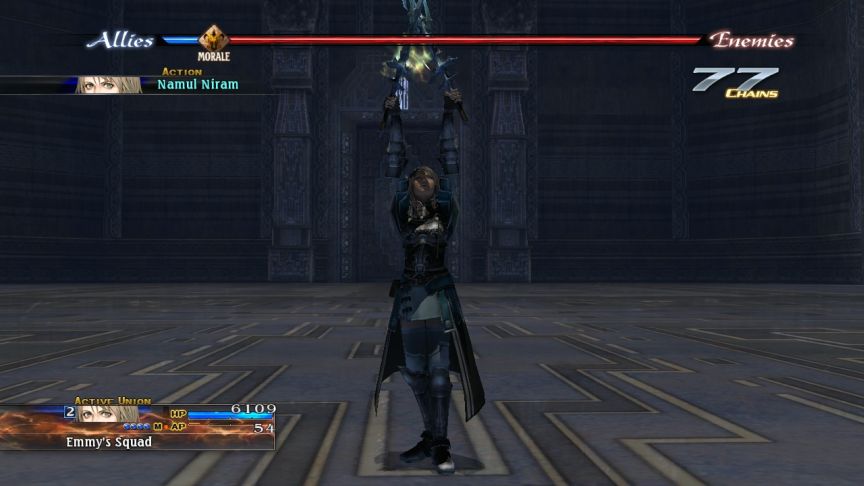
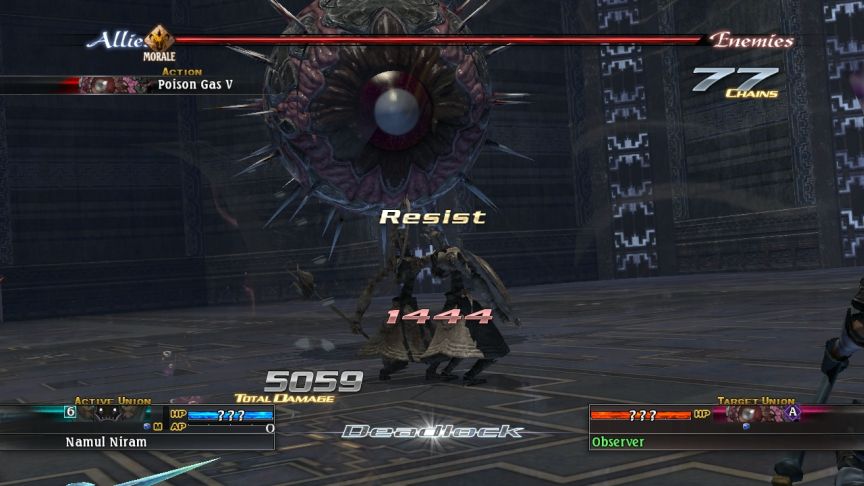
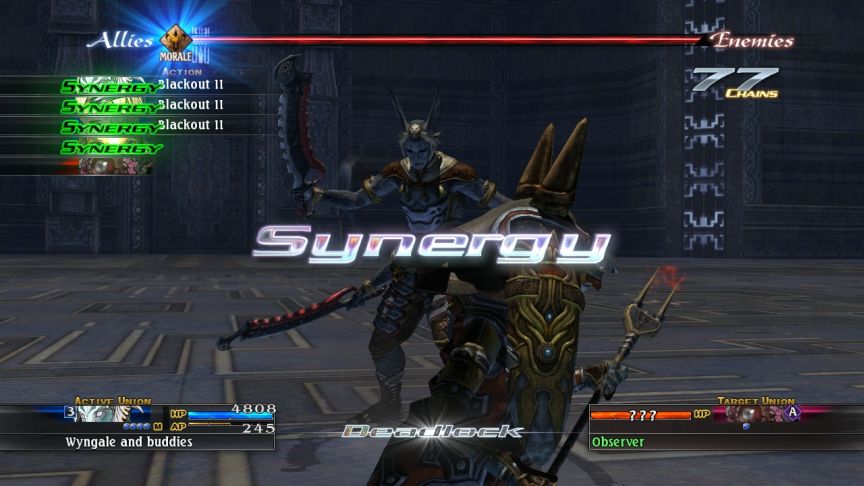
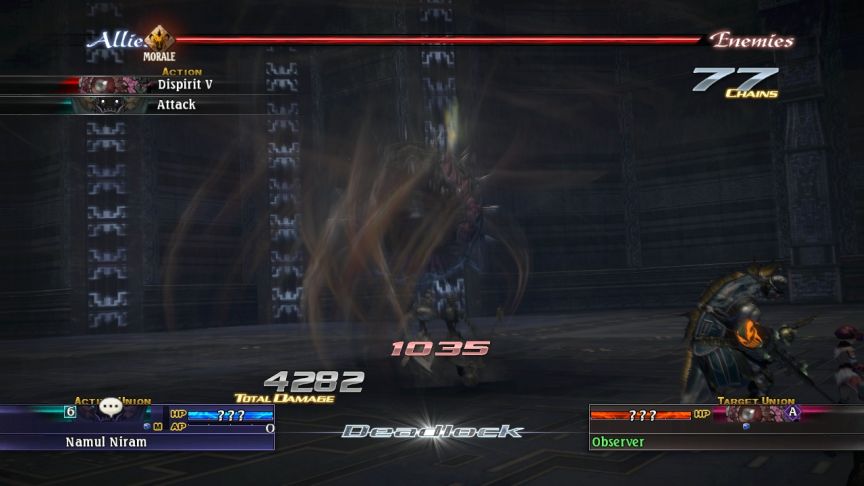
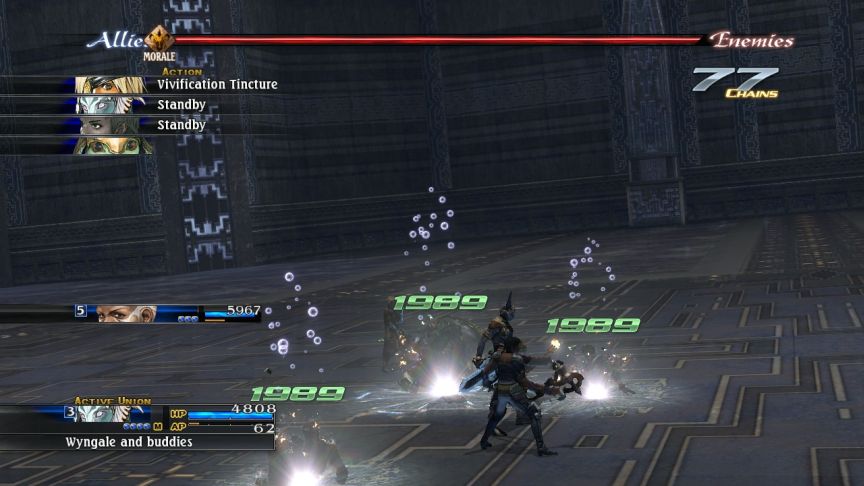
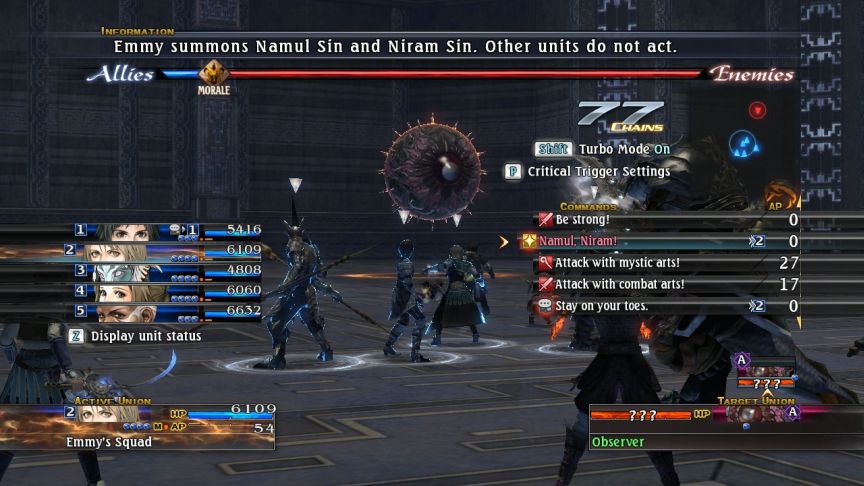 Observer has a very nasty gimmick, so I’m glad that I got Namul Niram. I’ll need all the help I can get with this. Wyngale will lower Observer’s morale, Jager is on healing duty, everyone else is standing by.

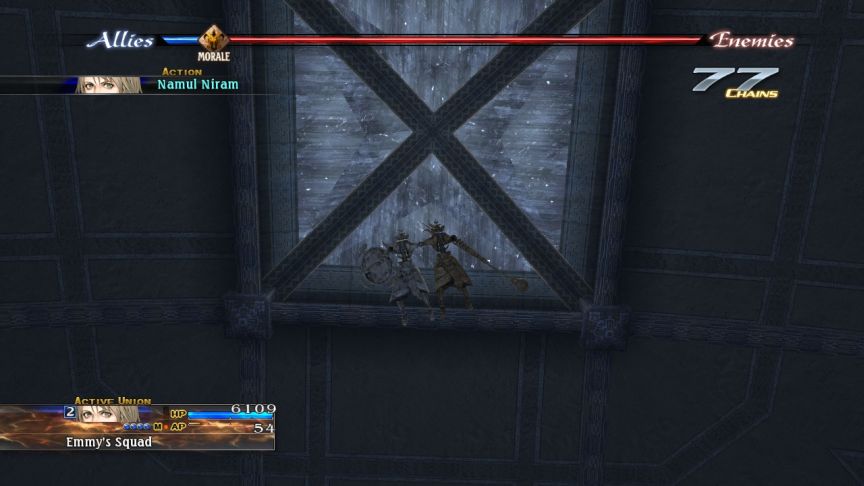 So that’s what the ceiling looks like in here.
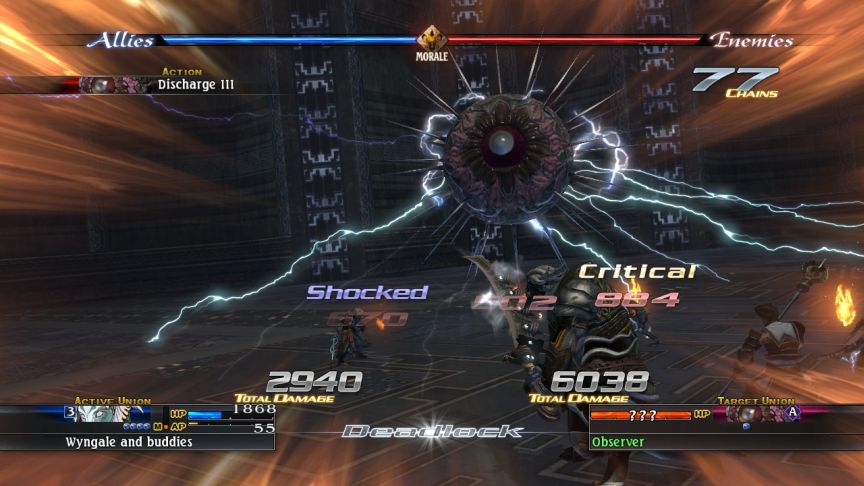

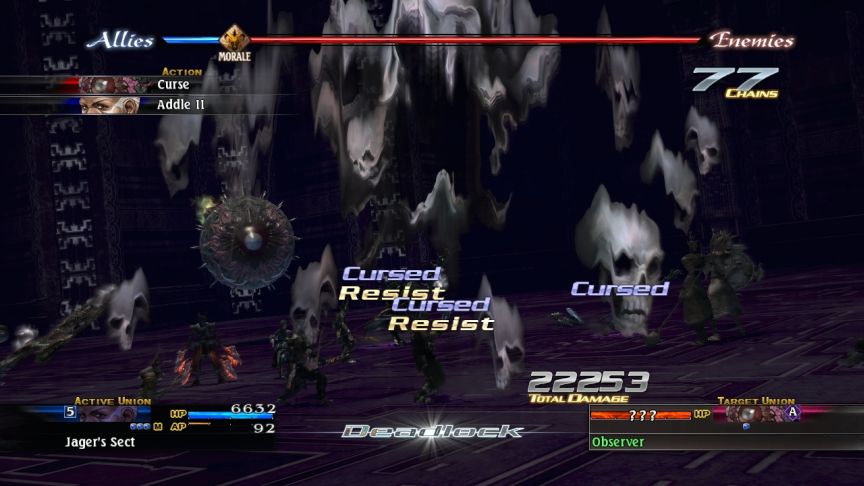
 Observer has the usual high-level attacks.

 Starting sometime between turns 2-4, Observer will begin to cast Overdrive at the start of the turn, every turn from now on. It has powerful enough attacks that it can take a union from 9999 HP to dead in one Overdrive-boosted turn.
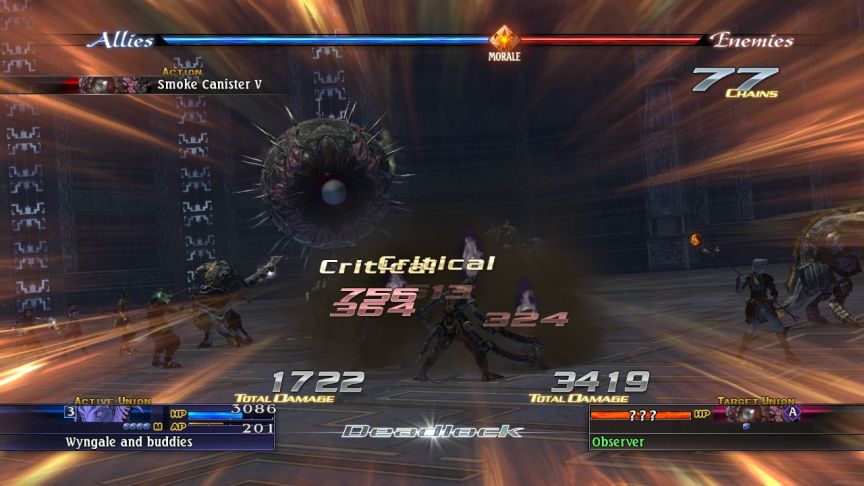
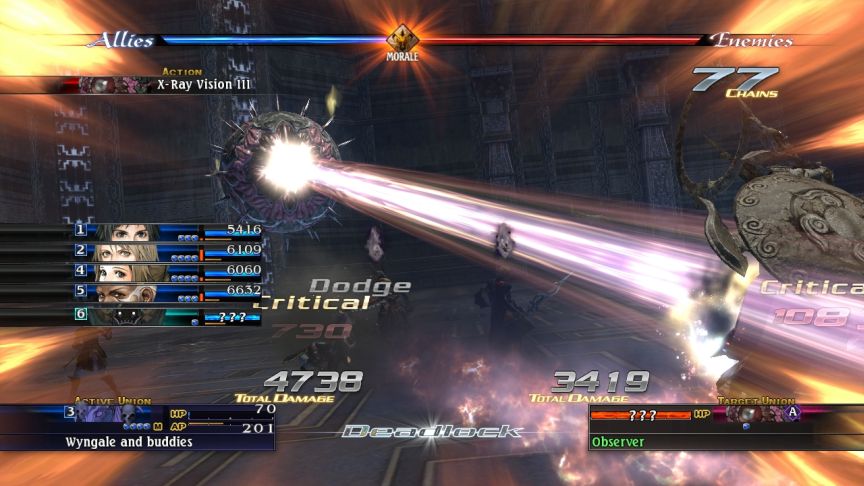
 It only need 4 of them to wipe the mage union.
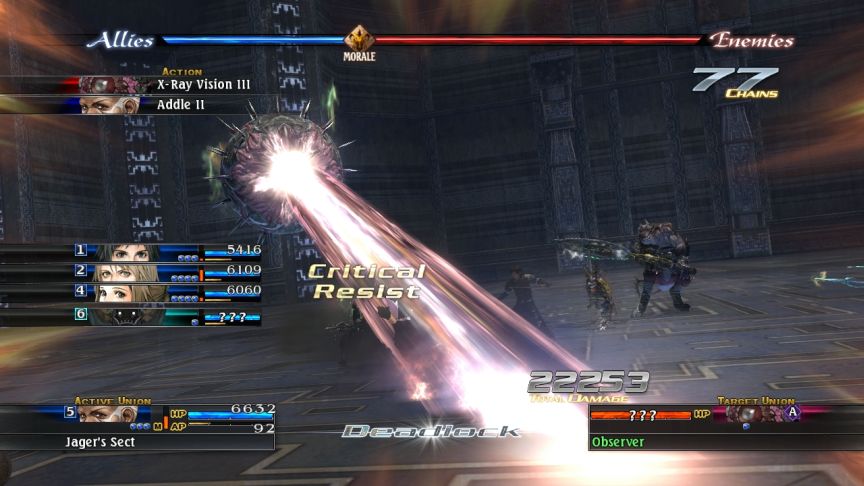

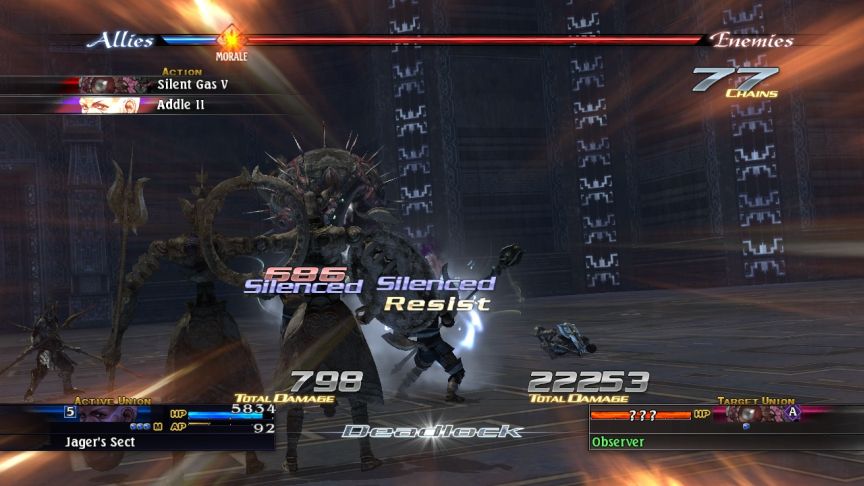 And of course Overdrive works against every union deadlocked with it. Needless to say, this makes Observer nearly impossible to kill. And since you cannot flee from battle, well, getting caught by one can be a game over. So save often in these ruins.
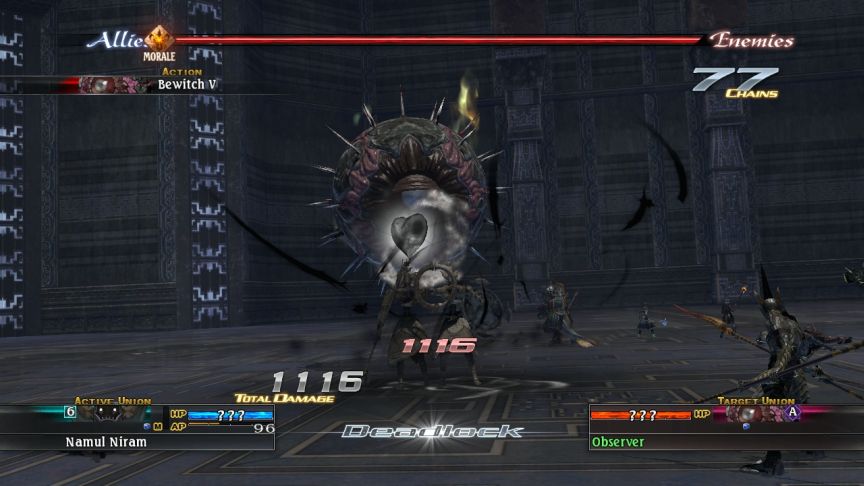
 The only good thing is that summons are almost completely immune to all statuses (except Enthrall).
 Being a Ninja is really handy. I think this is the only real way to engage Observer, at least, without being able to burn through its 418,000-660,000 HP in two turns.
 At least that’s what I thought until I checked the ever-helpful wiki. Apparently Cachexia can also prevent Overdrive from being cast, if you cast it at the end of the turn.

 Observer can’t hit anyone Raidlocking, flanking, or rear assaulting them, so they can’t use Overdrive there. The trick is that like pretty much all rares, you need 4 unions to be able to flank once, so you can only really do it with leaders who have special abilities to let them flank with only one union deadlocking.
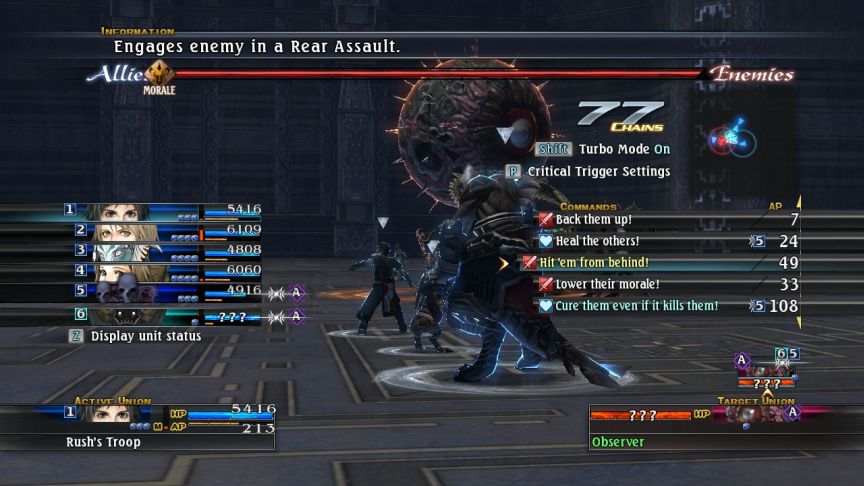
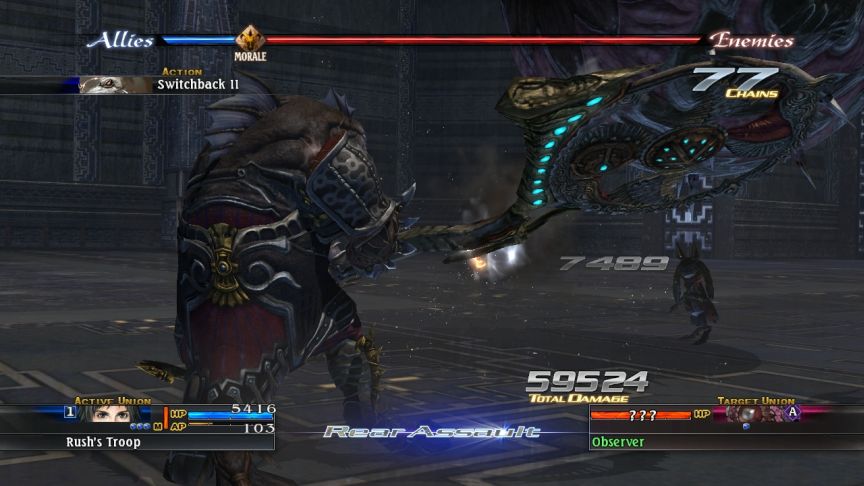
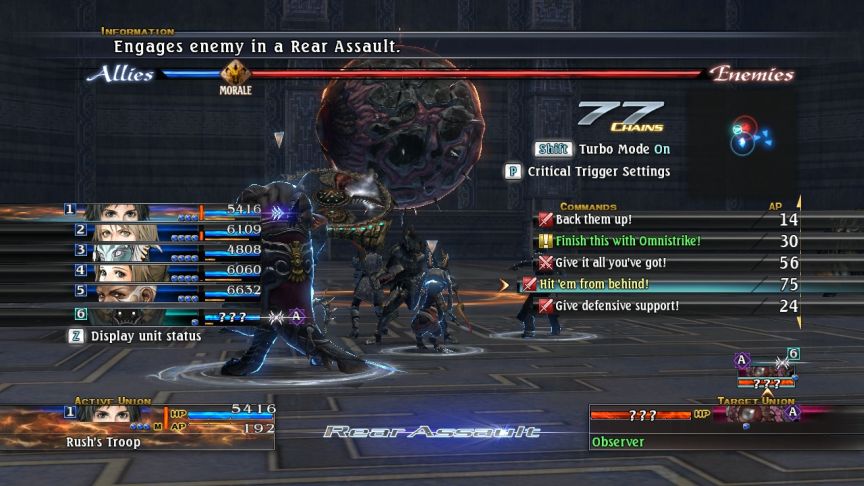 I don’t dare stop using Rear Assault.
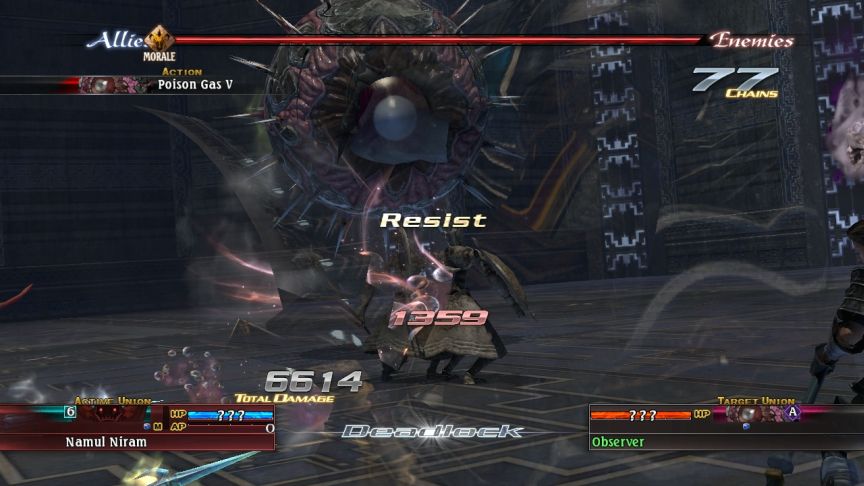
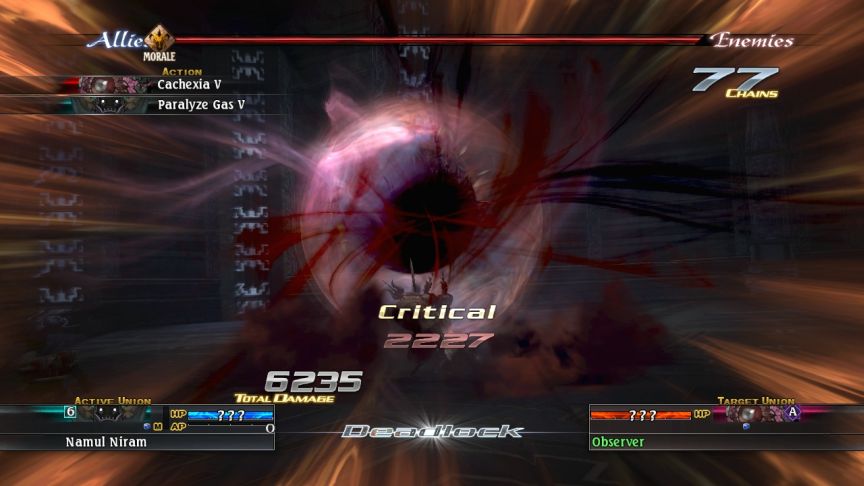 That’s more HP than any of my unions has in total. My strategy is to let Namul Niram tank, while everyone heals and stands by, and Rush rear assaults. It’s slow, but about as safe as it gets.
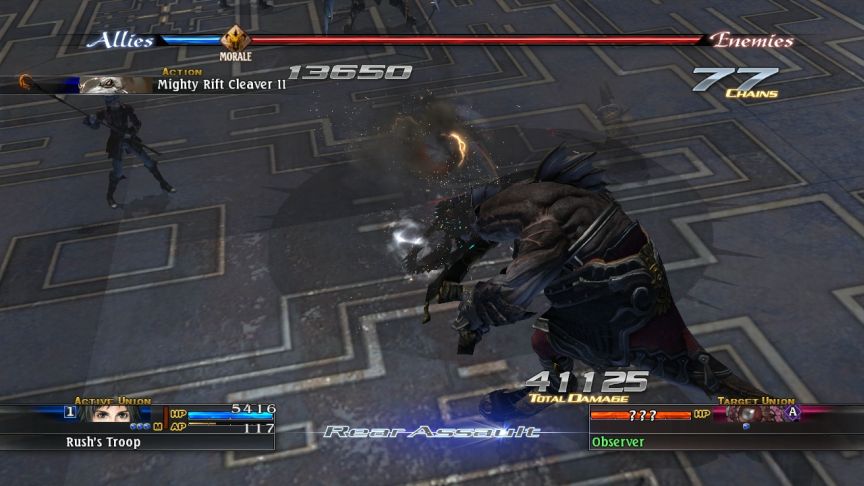

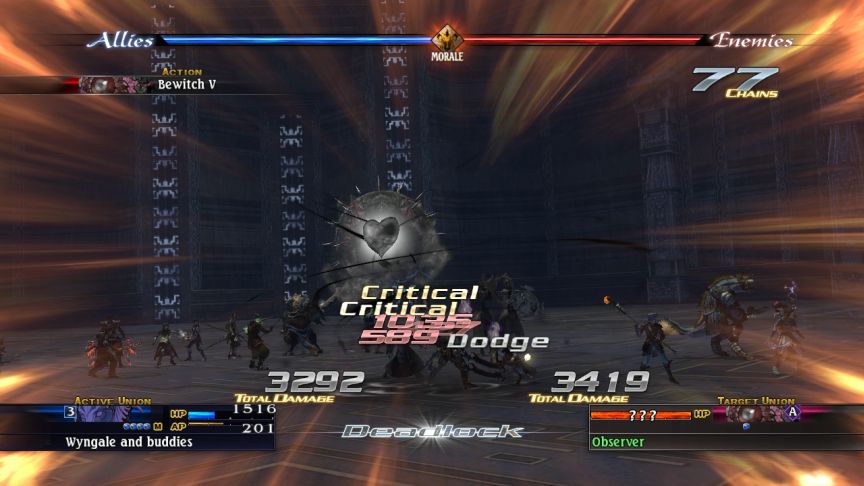
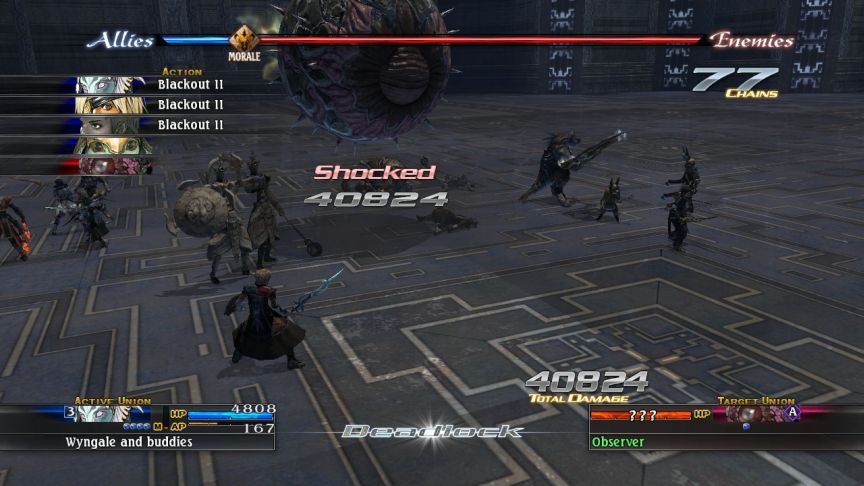
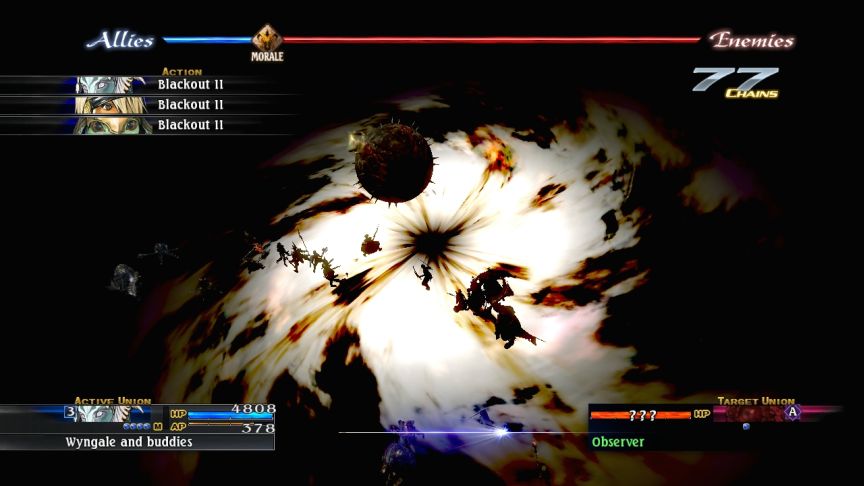
 The damage is slowly adding up.
 Sometimes you don’t get the options to stand by, and then this happens. But Wyngale is on healing duty and picks her right back up.
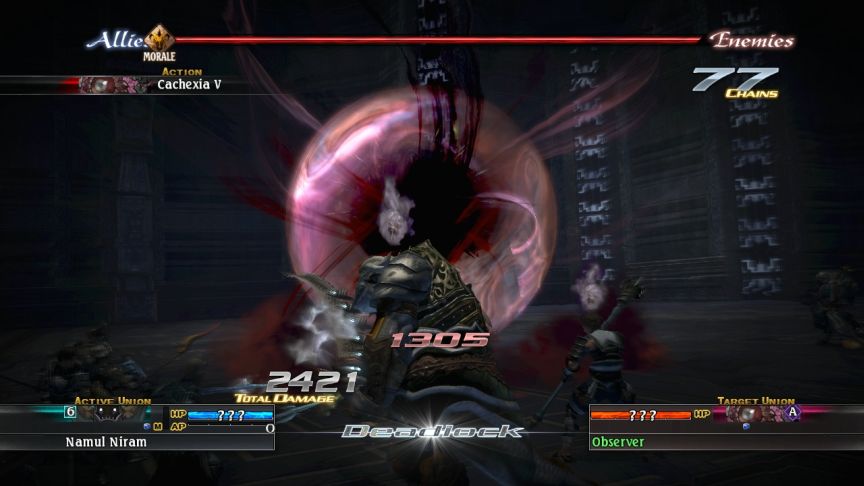
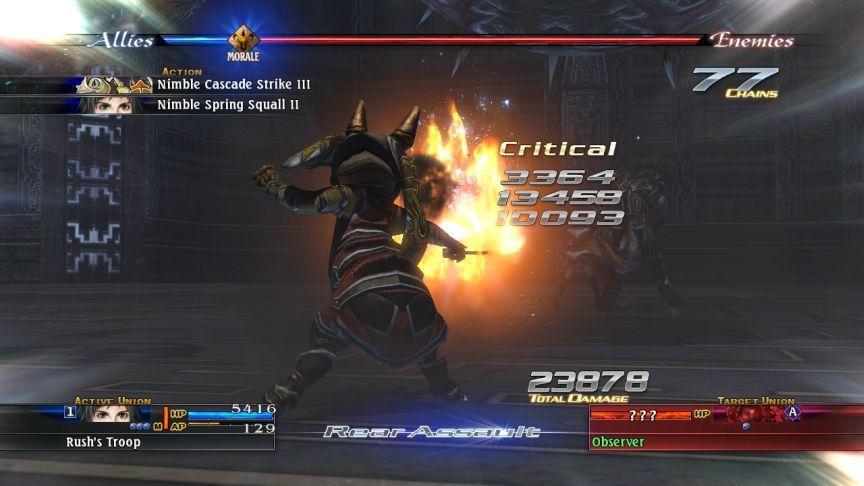 And finally Observer is in critical.
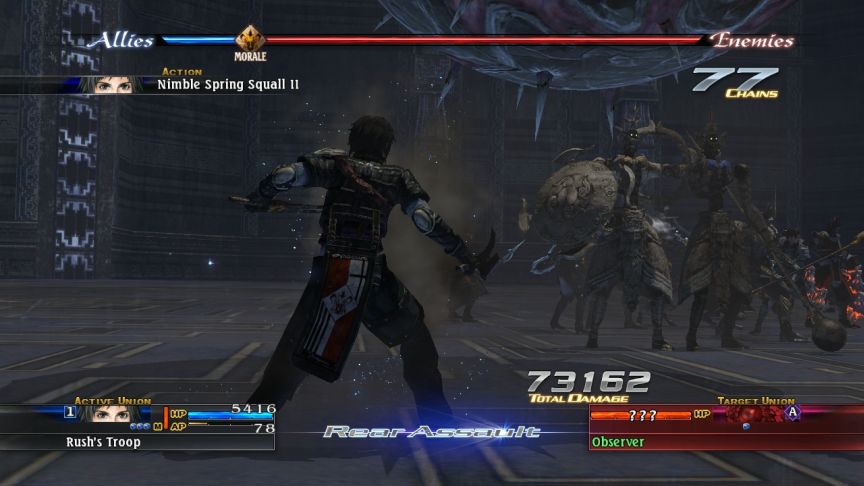

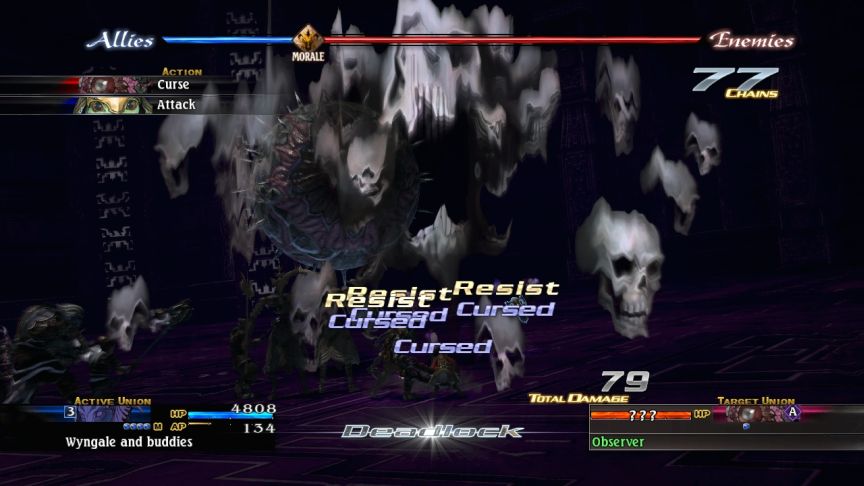
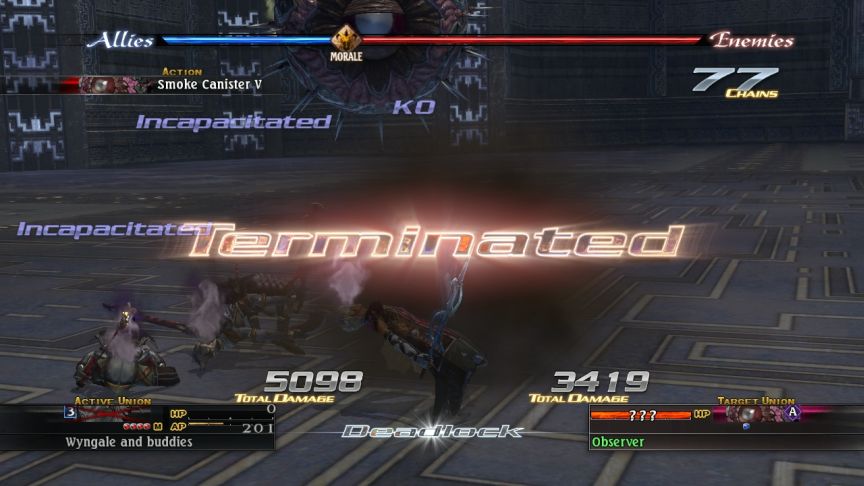
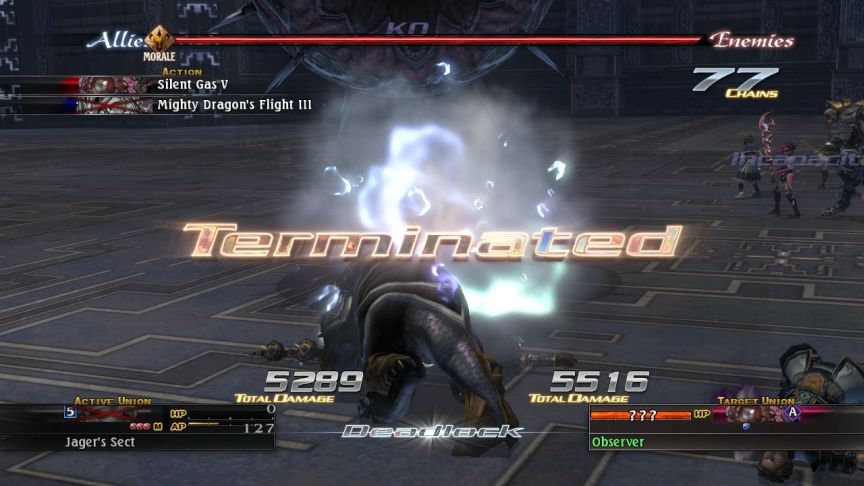
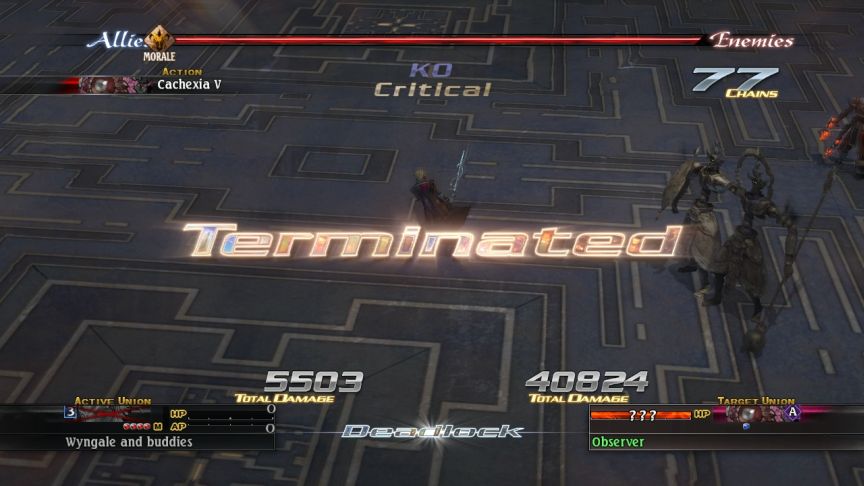
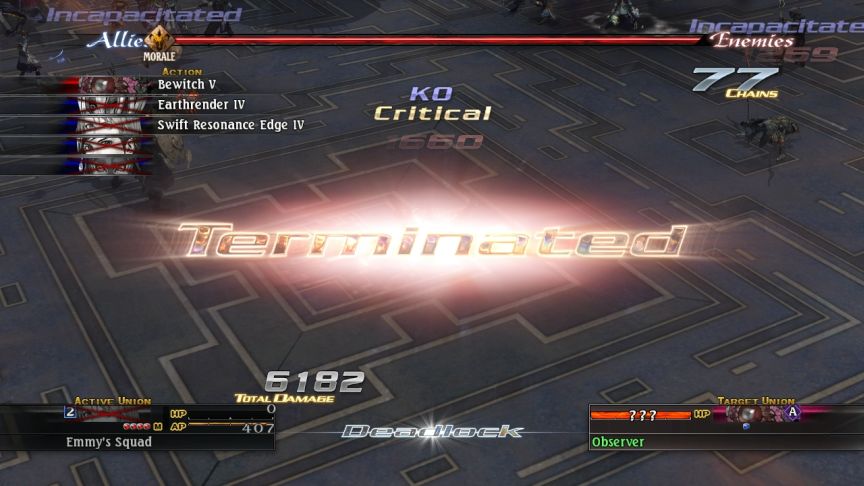
 I sensed blood and went for the killing blow.
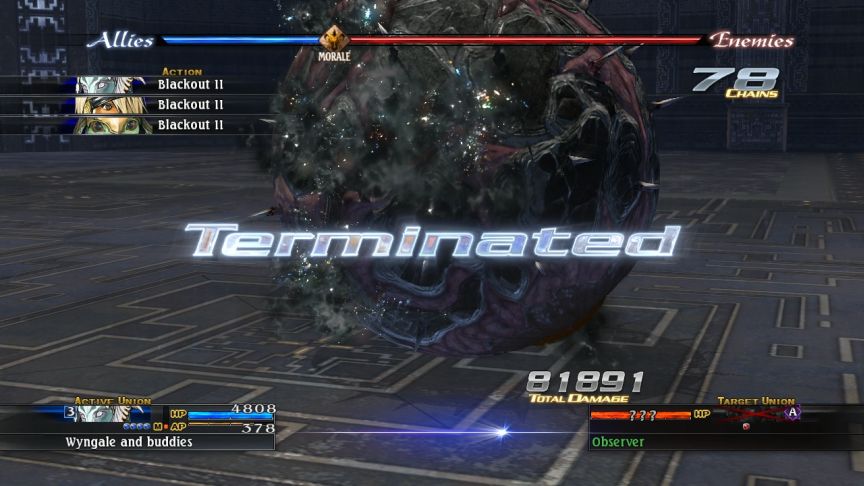 That was literally the first time I ever managed to defeat Observer. I usually just run around them. Also, arts for everyone!
 Nimble Spring Squall III!
 Confuse V!
 Naturally, Observer drops high-level components. It can even be captured, and you need 5 captured Observers to craft a very special weapon. I’ll be trying to do that later, since I have the other components anyway.
Music: Whispers of the Ancients
 That does it for the first half of this map. - Dungeon Video: Ancient Ruins: Grammi Tier - Disith
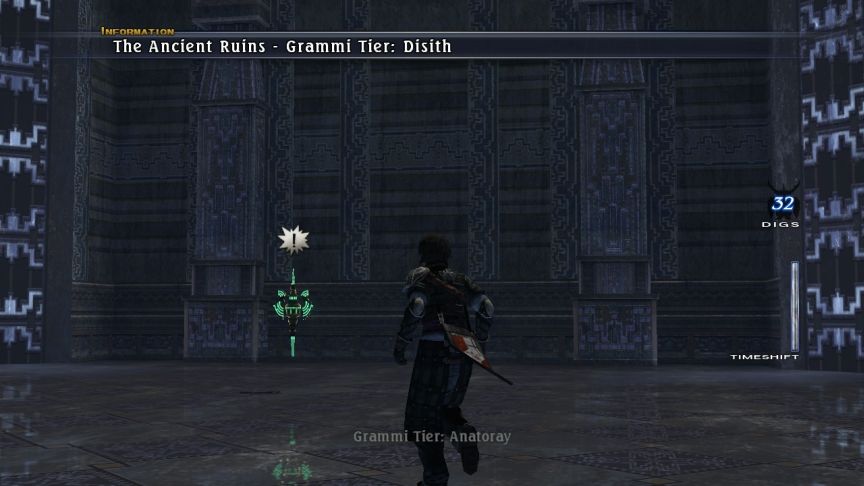
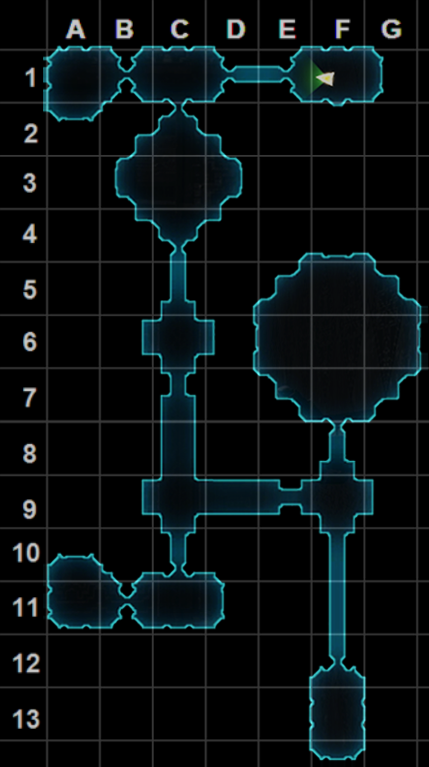 This map is also rather straightforward. Entrance at top-right, exit at bottom right, boss at middle-right, teleporter key at bottom left.
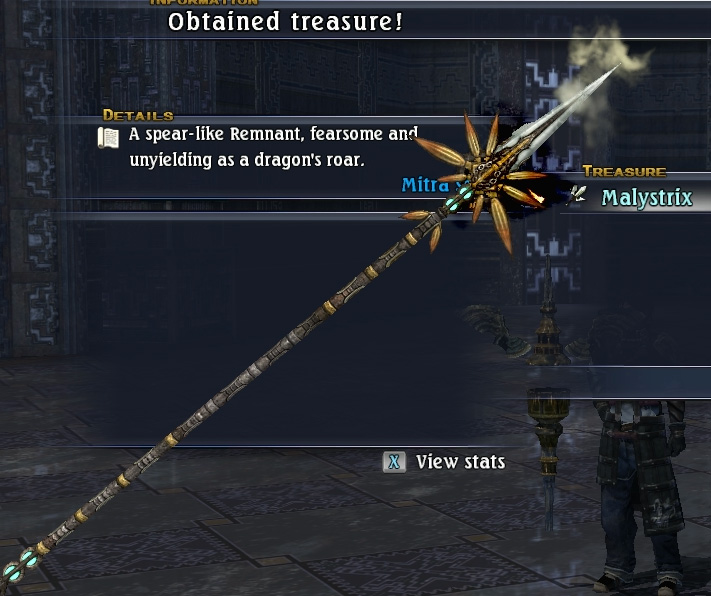 Another nice weapon here and one that Rush can actually use. Haruko requests this.
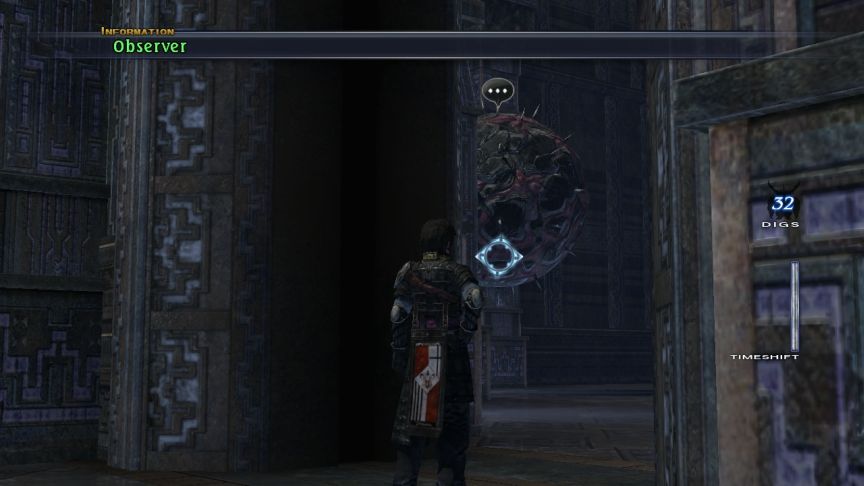 The upper-left room has another Observer.
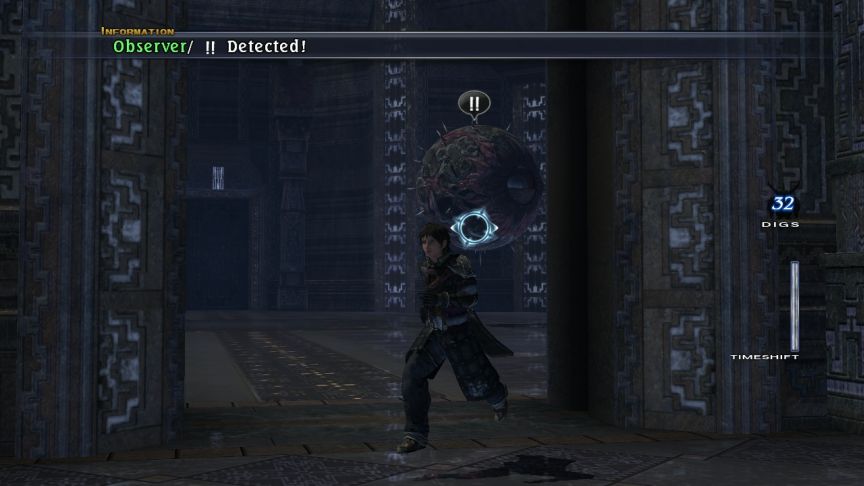 And there’s another in the one in the room leading to the rest of the level. They’re close enough that you can link them together into one encounter! (Don’t do that.)
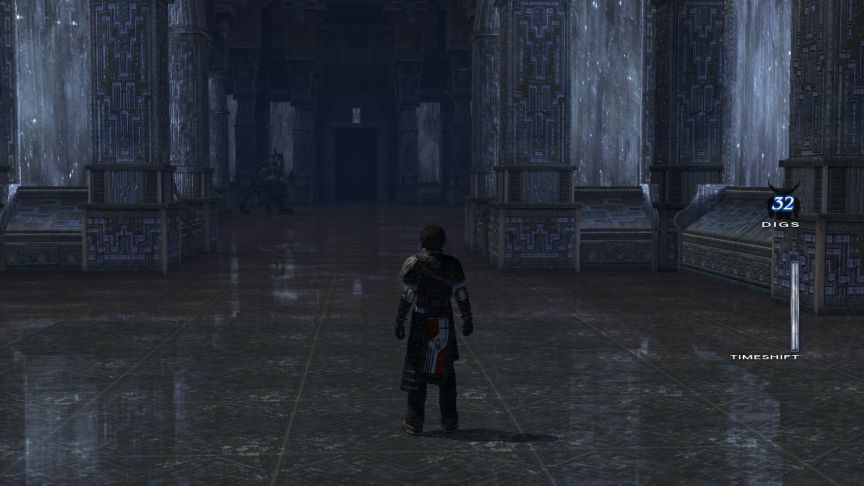 These corridors are crowded with Greater Demons, so stay on your toes.
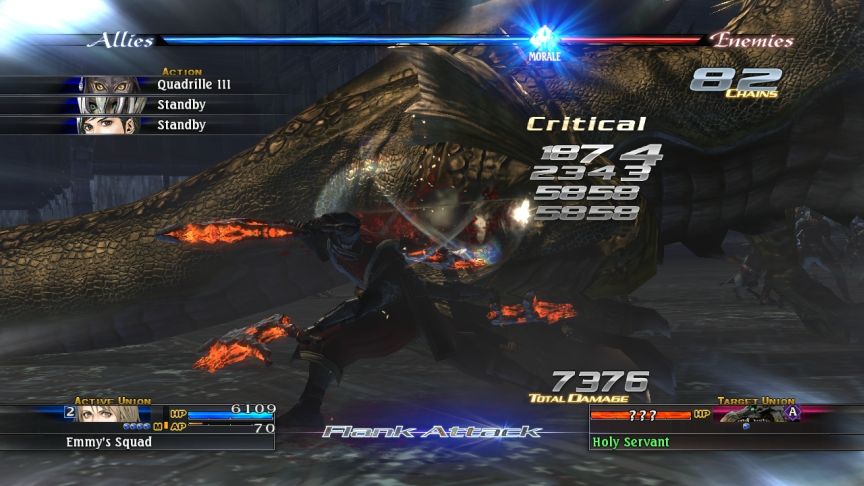
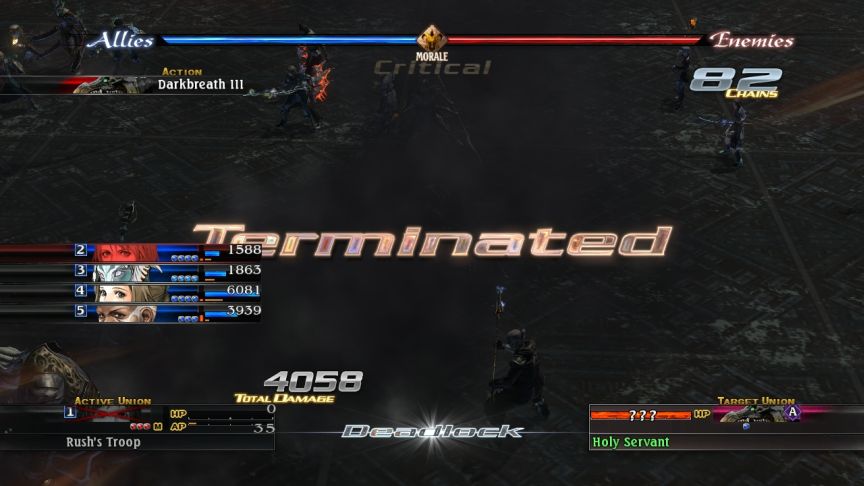
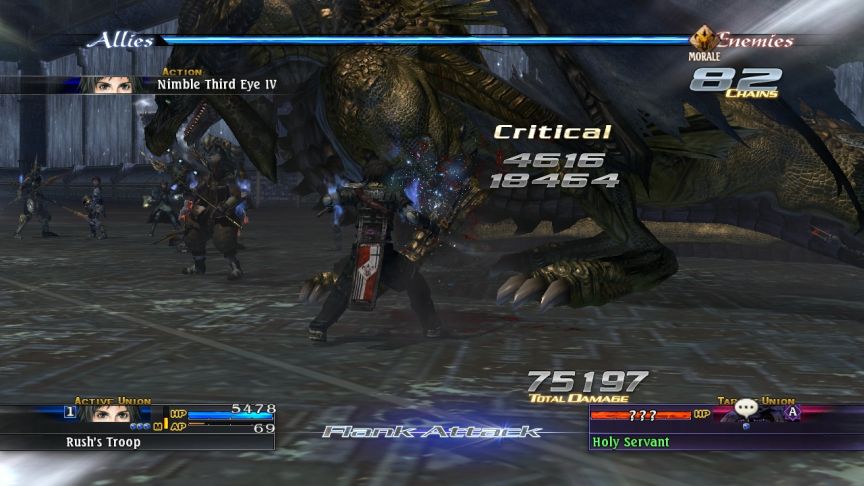
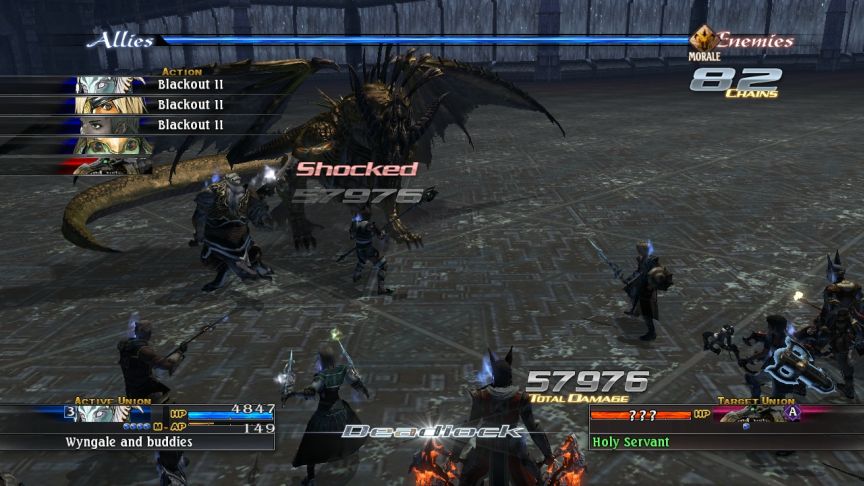
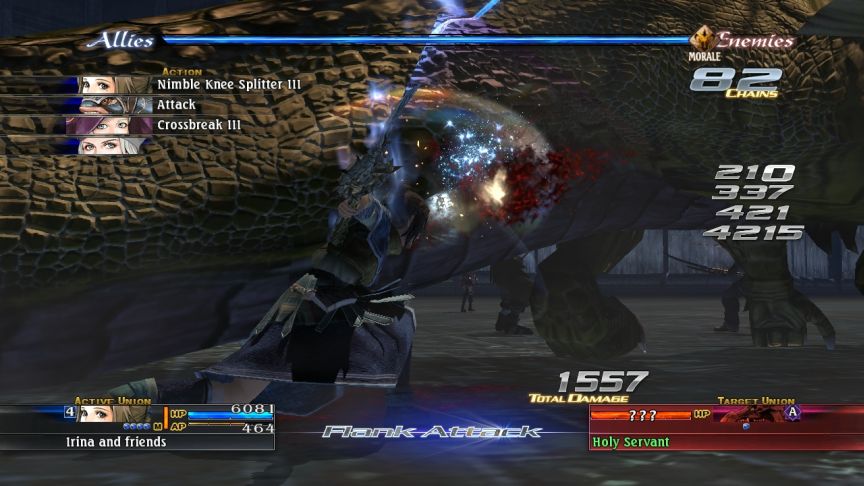
 Yeah, I don’t think so. - Miniboss Video: Holy Servant
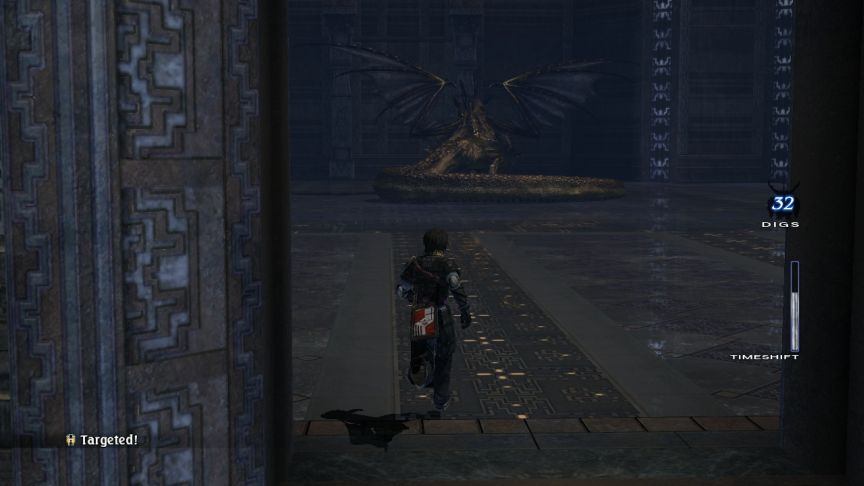 And here’s the miniboss I need to defeat to leave Grammi Tier: the Holy Servant.
Music: Beat the Odds
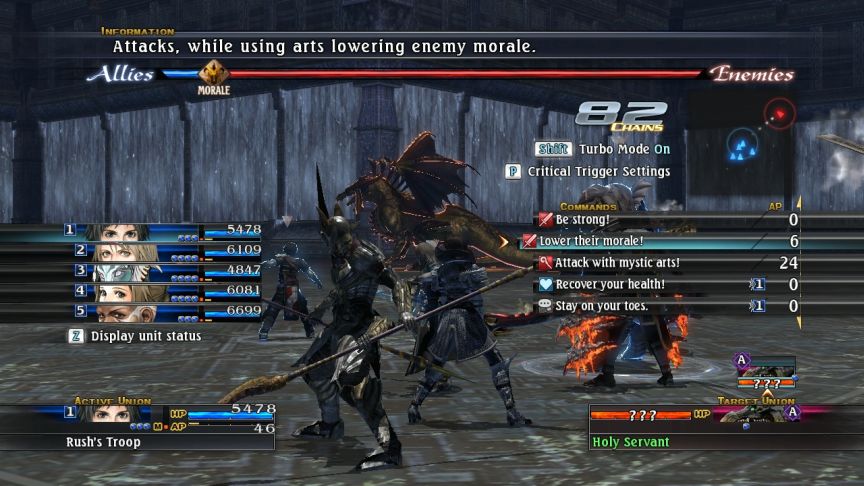 We’ve fought Dragons before, and this one shouldn’t be too difficult by now.
 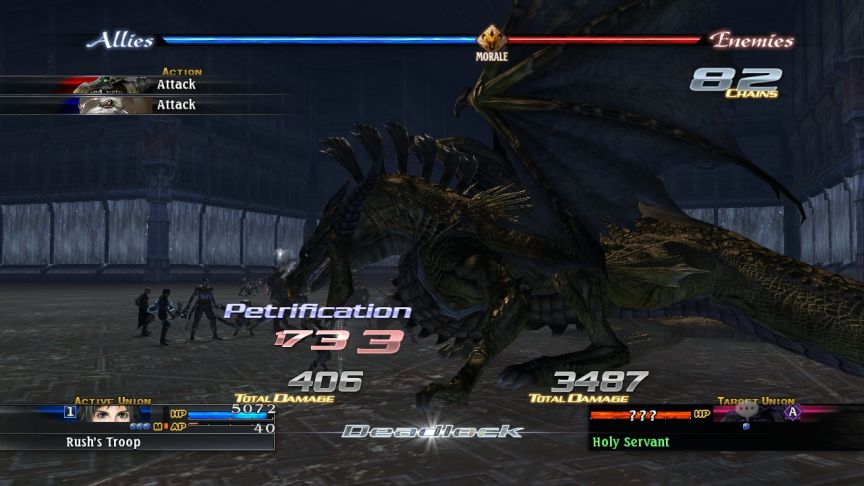 This is like the second time I’ve seen an enemy use Petrification. It’s supposed to be a one-hit kill if they get hit again, but curing it is Refresh, the same as everything else except Curse and Enthralled.
 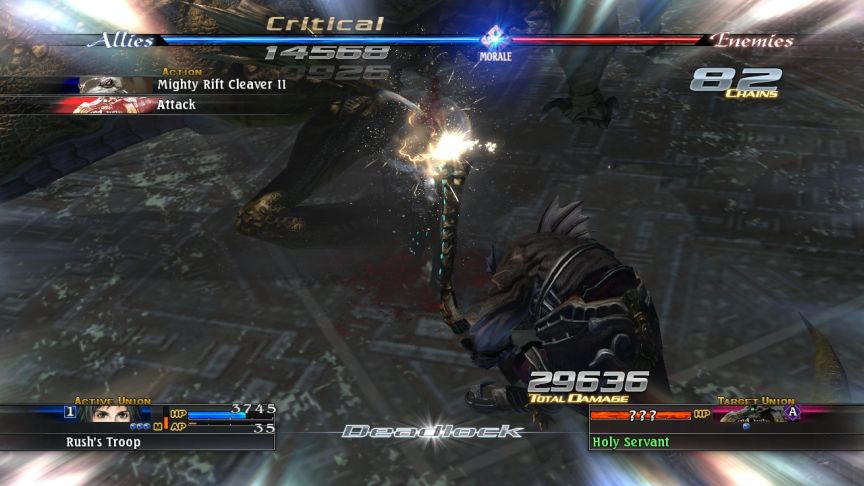 It doesn’t even seem to inhibit one from attacking. (Yes it was Darien who was petrified but he could attack just fine.)
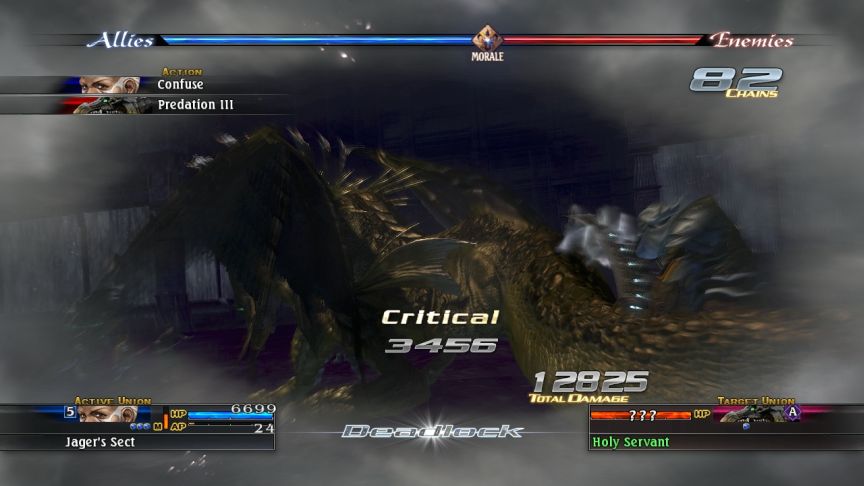
 Eh, I’ve been worse. The next turn I’ll mostly use recovery arts because I get few good combat options.
 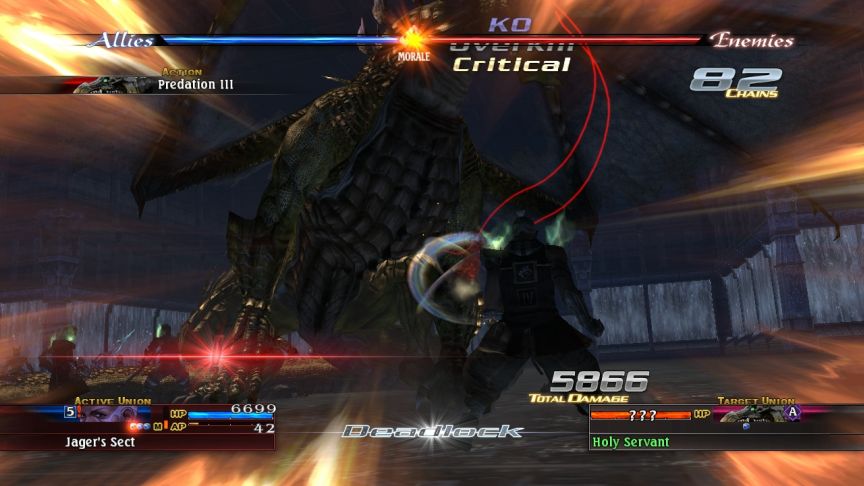 Paris had just cast Protection, so it looks like if it rolls a deathblow, that just flat-out ignores Protection. I guess that makes some sense since deathblow attacks do no damage otherwise.
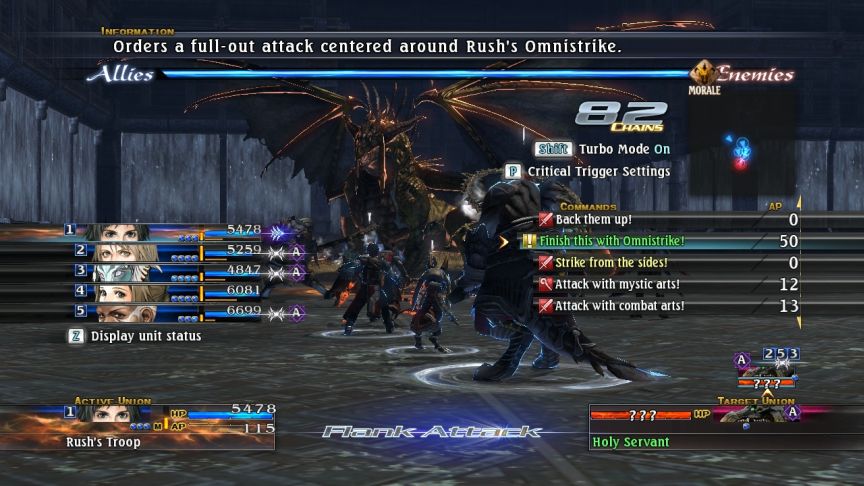
Music: Clash of Opposites
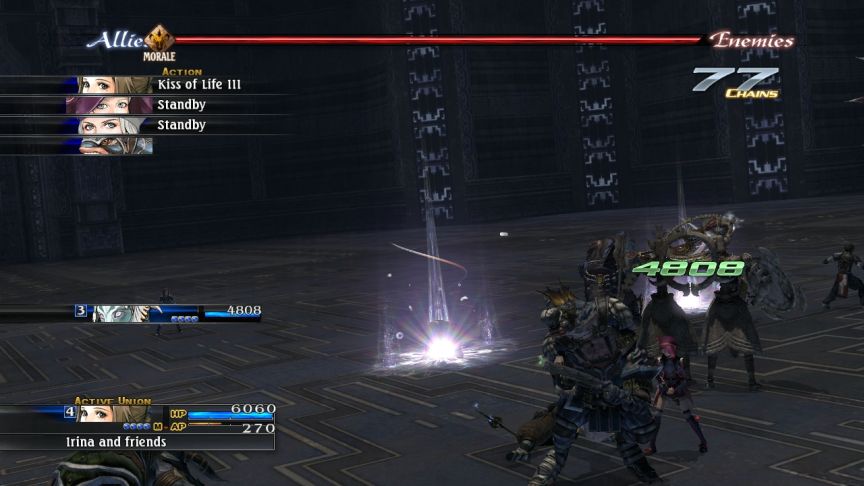
 Our morale is at half, and we’ve got plenty of options to increase it. Irina will also go revive Jager. In fact Irina has two identical options to use Kiss of Life. Yeah, I don’t know how that could happen either.
  Holy Servant is forced to blow their end-of-turn attack on lowering our morale.
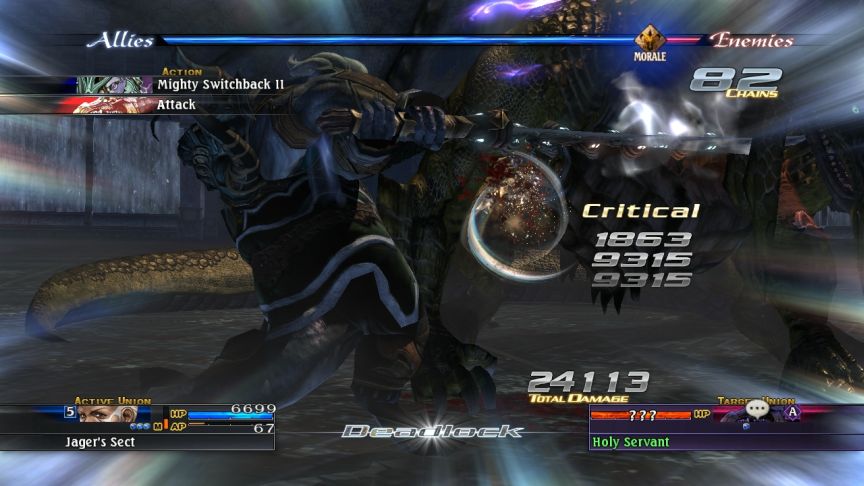
 But it’s not hard for us to get it all back again.
Music: Turn the Tide
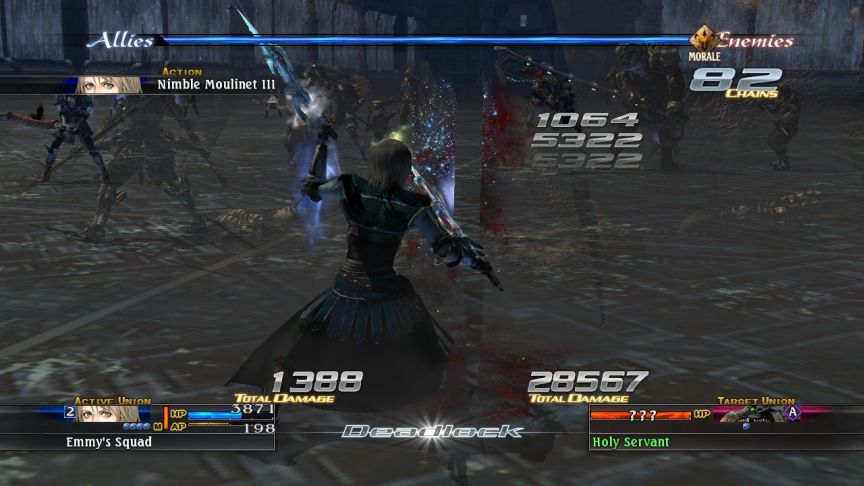
 Still not in critical yet?
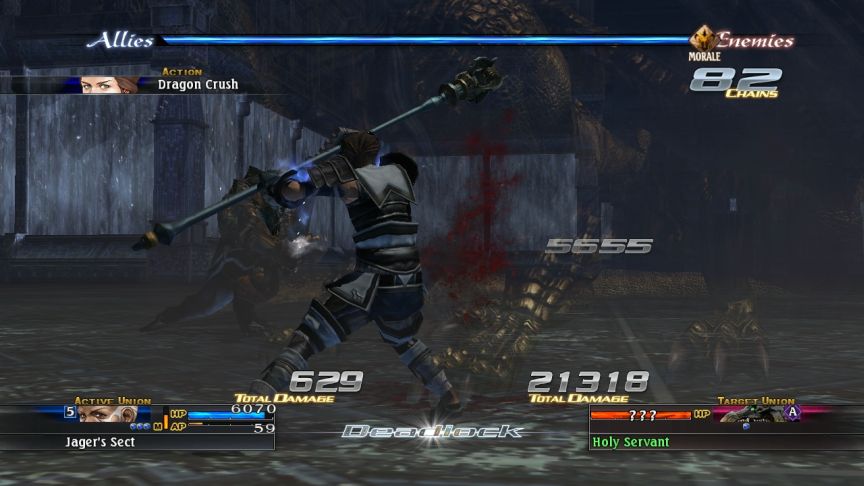
 Okay, that did it.
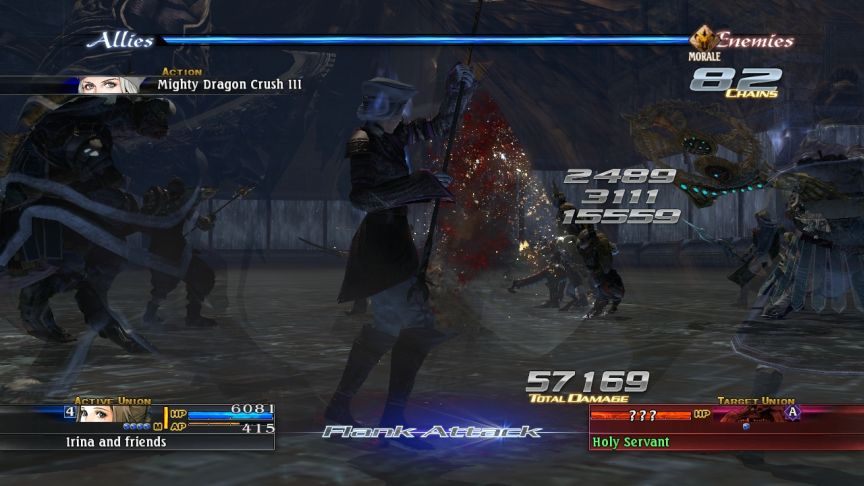 Have I mentioned that Violet is strong? Because Violet is strong.
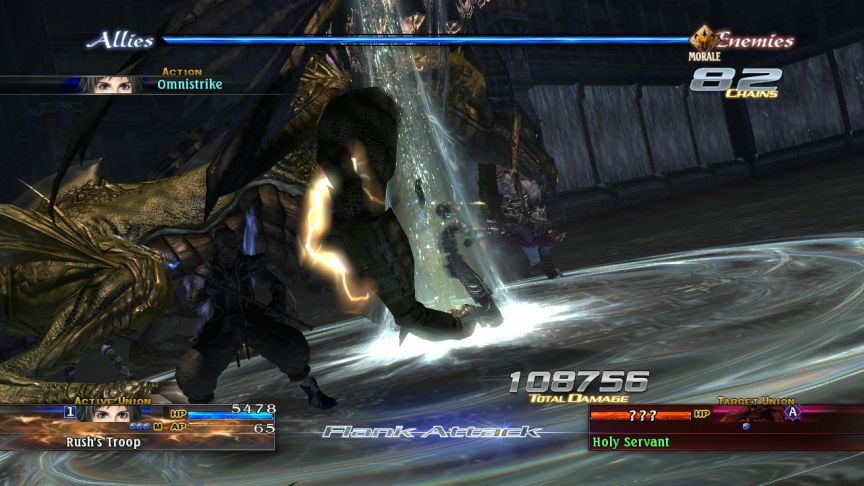 It still survived that?
 No matter, it won’t last another turn.
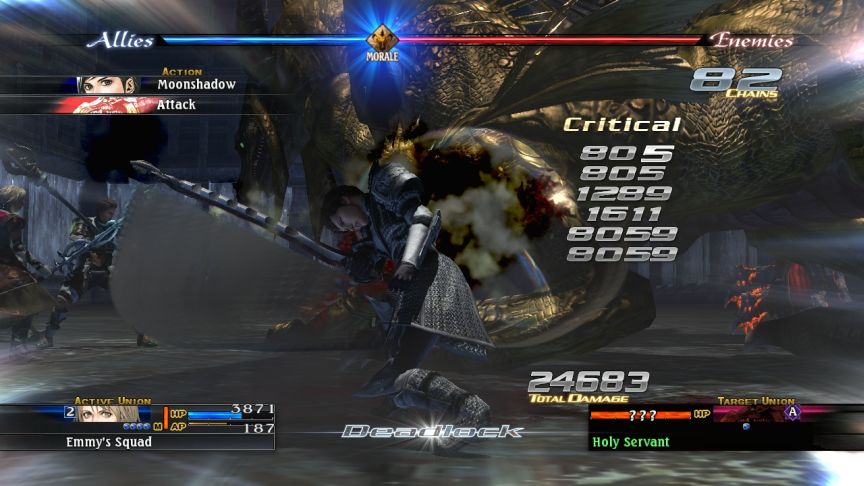
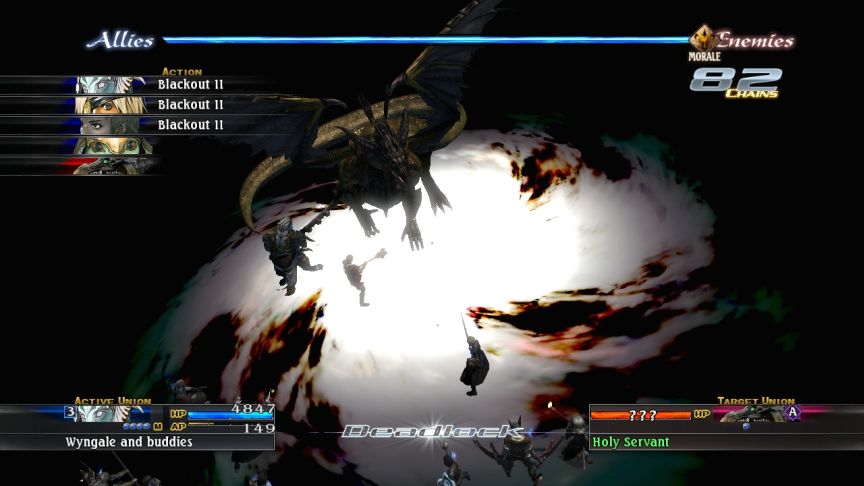
 And that does it. No new arts from this battle, though. Holy Servant is captured. It can be used to craft an Imperator’s Ring. Once again, it costs more to create it than to buy it from the store in Undelwalt. And since I’m pretty sure that captured monsters don’t carry over to NG+ even if they’re also components, I fail to see the point.
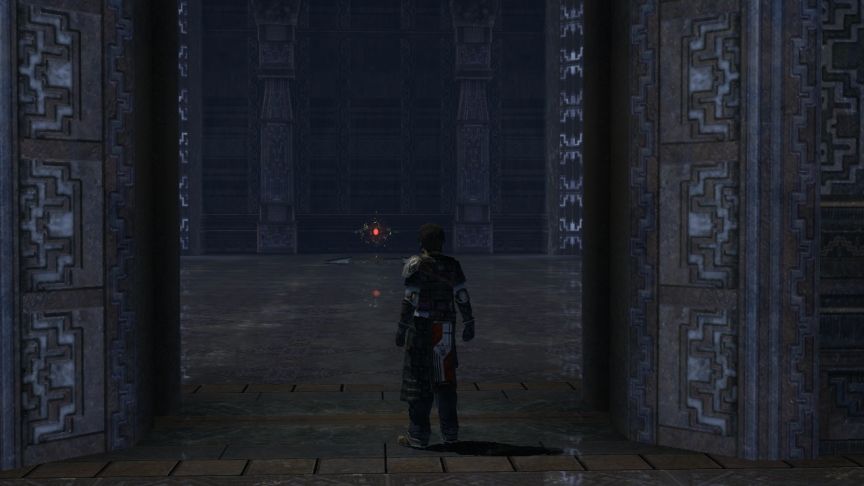 This teleporter seems to be limited. You’ll need a key to progress to the next stage. A key? But where? I’ve been everywhere on this level except… Oh…
…Ah, crap.
New Arts Summary
- Cheer!
- Mixed Message III!
- Nimble Spring Squall III!
- Confuse V!
 Double Time III!
- Protection III!
 Restore IV!
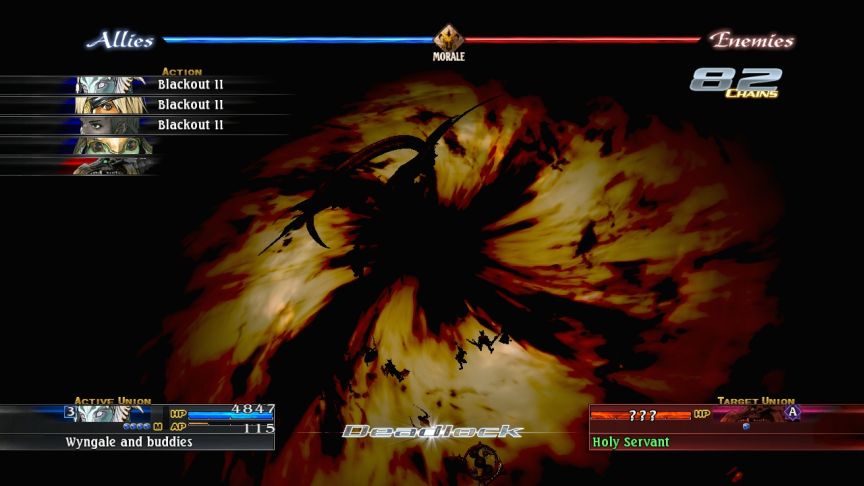
 Blackout II!
- Bluff III!
- Addle II!
- Mighty Dragon’s Tail!
- Mighty Dragon’s Tail II!
- Nimble Acala’s Wrath II!
 Poison Gas II!

Dungeon: Ancient Ruins – Apex Tier
MiniBoss: Ymir
Dungeon: Ancient Ruins: Grammi Tier - Anatoray
Rare Monster Observer (Fight 1)
Dungeon: Ancient Ruins: Grammi Tier - Disith
Miniboss: Holy Servant
Next Time: ???